Showing posts with label Wilton. Show all posts

Monday, December 27, 2010

Jungle Cupcakes

I’m lucky enough to have some amazing friends in my life that I’ve known since I was very young. Some people find that weird; perhaps because it’s so rare these days that relationships would last so long with so many people constantly on the go and moving around. But it’s not weird to us; in fact I think it’s one of the greatest blessings. It’s nice having people that not only know who you are now, but know who you were, where you came from and how you’ve grown. It’s also so much fun going through various life stages with all of them.

For example, one of these friends is expecting her first baby and another friend hosted an adorable baby shower for her! (There will be a Party Post tomorrow with all of the amazing and thoughtful details that went into the shower.) The hostess thought cupcakes would be perfect for a baby shower since they are essentially ‘baby’ cakes. So, she asked me to make them, I was so excited!

We met over coffee so I could find out all the pertinent details: shower theme, style, flavors, quantity, etc.

She had found the most adorable invitations that were the primary inspiration for the cupcakes and the shower.

We searched stores and online for coordinating cupcake liners and/or wrappers and found the perfect set from Wilton (found at Michael’s).

The cupcakes were white cake with white ‘Extra Special Buttercream’. Since the paper liners, wrappers and picks were fairly colorful I decided to keep the frosting color and design simple, just a simple swirl with a large star tip.

I think they turned out very cute; but wait until you see the rest of the shower details tomorrow!

Enjoy!

Tuesday, November 16, 2010

Butterfly & Flower Cakes

A very sweet little girl had her first birthday last weekend and I had the privilege of making her special cake. Her mom found adorable paper plates that were the inspiration for the party and the cakes.

The big birthday cake used a Wilton daisy shape pan and the personal cake for the birthday girl was just a single layer 6-inch round cake.

This was my first time baking a shaped cake and I was so excited. Perhaps a little too excited because I became impatient and did not let the cake cool as long as I should have…I’m pretty sure that’s why the first cake ended up like this:

I thought about trying to salvage it, but decided it was easier to bake a new cake. Don’t worry, this cake didn’t go to waste, you’ll see what it turned into in an upcoming post.

The second cake turned out much better.

Since this was my first time making a shaped cake, I wanted to make sure it wouldn’t stick to the pan, so I tried the Wilton Bake Easy Spray. I loved it, it worked perfectly (even on the first cake), and it’s so much easier than using shortening and flour!

For decorating the shaped cake I just used butter cream icing (you can see the recipe I use here).

For the birthday girl’s cake, though, I used a bit more to make sure it really matched the plates and was fun and girly. Obviously, I used butter cream icing as the base in the same color as the flower cake. For the white daisies I used royal icing flowers I had made previously. To really match the plate though, I needed to have butterflies. I decided to make the butterflies and the name out of colored chocolates. I have done names in chocolate before (here and here). However, I haven’t tried any detail shapes in chocolate until this; down below I show how I made the butterflies. I didn't use all the exact same colors because, well, the chocolates get a little pricey, but the patterns match pretty closely. I think they turned out very well.

I traced the butterflies on the plate onto plain paper. I then placed that paper on a cookie sheet and covered it with wax paper (I did tape down the paper and the wax paper so it wouldn’t move).

I melted the different colored chocolates in squeeze bottles and then used the traced outlines as guides. I would do one color, let it set for a bit and then switch to another color and let it set for a bit, and so on. Once I completed all the details that I wanted to do with the chocolate I placed the cookie sheet in the fridge to set completely.

When it came time to decorate the cake, I just carefully peeled the chocolate pieces (butterflies and letters) away from the wax paper and then attached them to the cake with butter cream.

Despite the first cake setback, overall this project was a success. I hope the sweet birthday girl enjoyed it!

Monday, November 1, 2010

Mickey Mouse Cake

I was asked to make a cake for the birthday of a 2 year old boy and a 4 year old boy, the theme – Mickey Mouse. There were a number of ideas and sketches thrown around…Mickey Mouse Clubhouse, Mickey Mouse hat, Mickey Mouse ears, Mickey’s face and maybe a few more. The cupcakes were one of my original sketches and ended up being perfect for the theme!

Then, one of the blogs I follow had recently posted a video about these adorable Mickey & Minnie caramel apples. I sent the link over to my friend and she loved them, so that solidified the plan for the cake.

Originally I was going to use the 6-inch cake as the head and cut out ears with cookie cutters from a larger cake; but I decided that it didn’t look as good. So, I used an 8 inch pan for the head and the 6 inch pans for the ears.

Getting Started
A while back I learned a nifty little trick for baking chocolate cakes; I think I saw it on a public television show, but I don’t remember exactly where I learned it. It’s a trick that I’ve used a few times and it definitely came in handy for this project.

Tip: When preparing your pans for a chocolate cake, use cocoa powder instead of flour after you grease the pans. The cocoa powder does not show up as much on a chocolate cake as the white flour would. And the cake comes out perfect!

Prepared Cake Pan

Cake Just Out of the Pan

After you get the cake layers level, assemble the layers with your desired filling. I used chocolate cream cheese icing. I then placed the cake in the fridge until I was ready to decorate.

Decorating
I used my usual buttercream icing recipe. For the ‘shorts’ I wanted to get a red sugar coating to match the caramel apples. I started by only frosting the bottom half of the cake with a red-ish tinted icing and then I covered with red sanding sugar. The top was easy, the sides were a little difficult and a little messy, but it eventually worked.

I then frosted the top half of the cake with chocolate icing that I tinted with black coloring. I frosted the ‘ear’ cakes with the same frosting. I smoothed out the frosting with an icing spatula. If you dip the spatula in hot water and wipe clean multiple times it helps smooth out the icing.

I thought doing the sugar coating on a cookie sheet would help contain the mess, but it didn't really.

I assembled the cakes on the cake board; make sure you 'glue' the individual cake boards to the large cake board with some icing.

Then used Wilton Decorating Icing (Red) to pipe a star border (Tip 21) around the entire cake. I have a hard time getting red icing as bright and vibrant as the pre-colored icing tubes, so I just bought some. Around the ‘shorts’ I topped the border stars with red hots and black Mickey head sprinkles that I found at Wal-Mart; the rest of the border I left as plain stars. I used the red icing to also attach two yellow jumbo confetti sprinkles.

Waiting in the fridge.

Boxed up and ready to go!

I was very happy with how the cake turned out. And even happier when I saw the cake, the cupcakes and the rest of the party décor…just wait until you see it!

Cupcakes will be posted tomorrow and the party post will go up on Wednesday!

Monday, September 27, 2010

Daring Bakers: Decorated Sugar Cookies

The September 2010 Daring Bakers’ challenge was hosted by Mandy of “What the Fruitcake?!” Mandy challenged everyone to make Decorated Sugar Cookies based on recipes from Peggy Porschen and The Joy of Baking.

I had made sugar cookies from scratch once before when I made these cookies for the challenge. I was excited to try a new recipe and see how it compared.

Once again, I had trouble with the dough being very crumbly.

If ANYONE knows why this is happening, please let me know! (One theory presented so far is that it's because I use a hand mixer and perhaps the recipe is better suited for the faster and more powerful stand mixers?)

I had to smoosh the dough together to get it to form a ball so I could roll it out.

I did really like Mandy's tip in the recipe of rolling out the dough right after mixing and then refrigerating it so it's easier to roll out; versus refrigerating and then rolling out. I also think the refrigerating after cutout and before baking also helped hold the shape. Her other very handy tip was rolling out the dough in between two layers of wax paper; I loved that!

Sorry, I didn't get pictures of the dough rolled out or in the fridge.

Even though this recipe still had crumbly dough, it did a much better job holding the shape of the cutout than the recipe I tried last time.

Baked cookies on the left; cut out dough on the right...almost exactly the same!

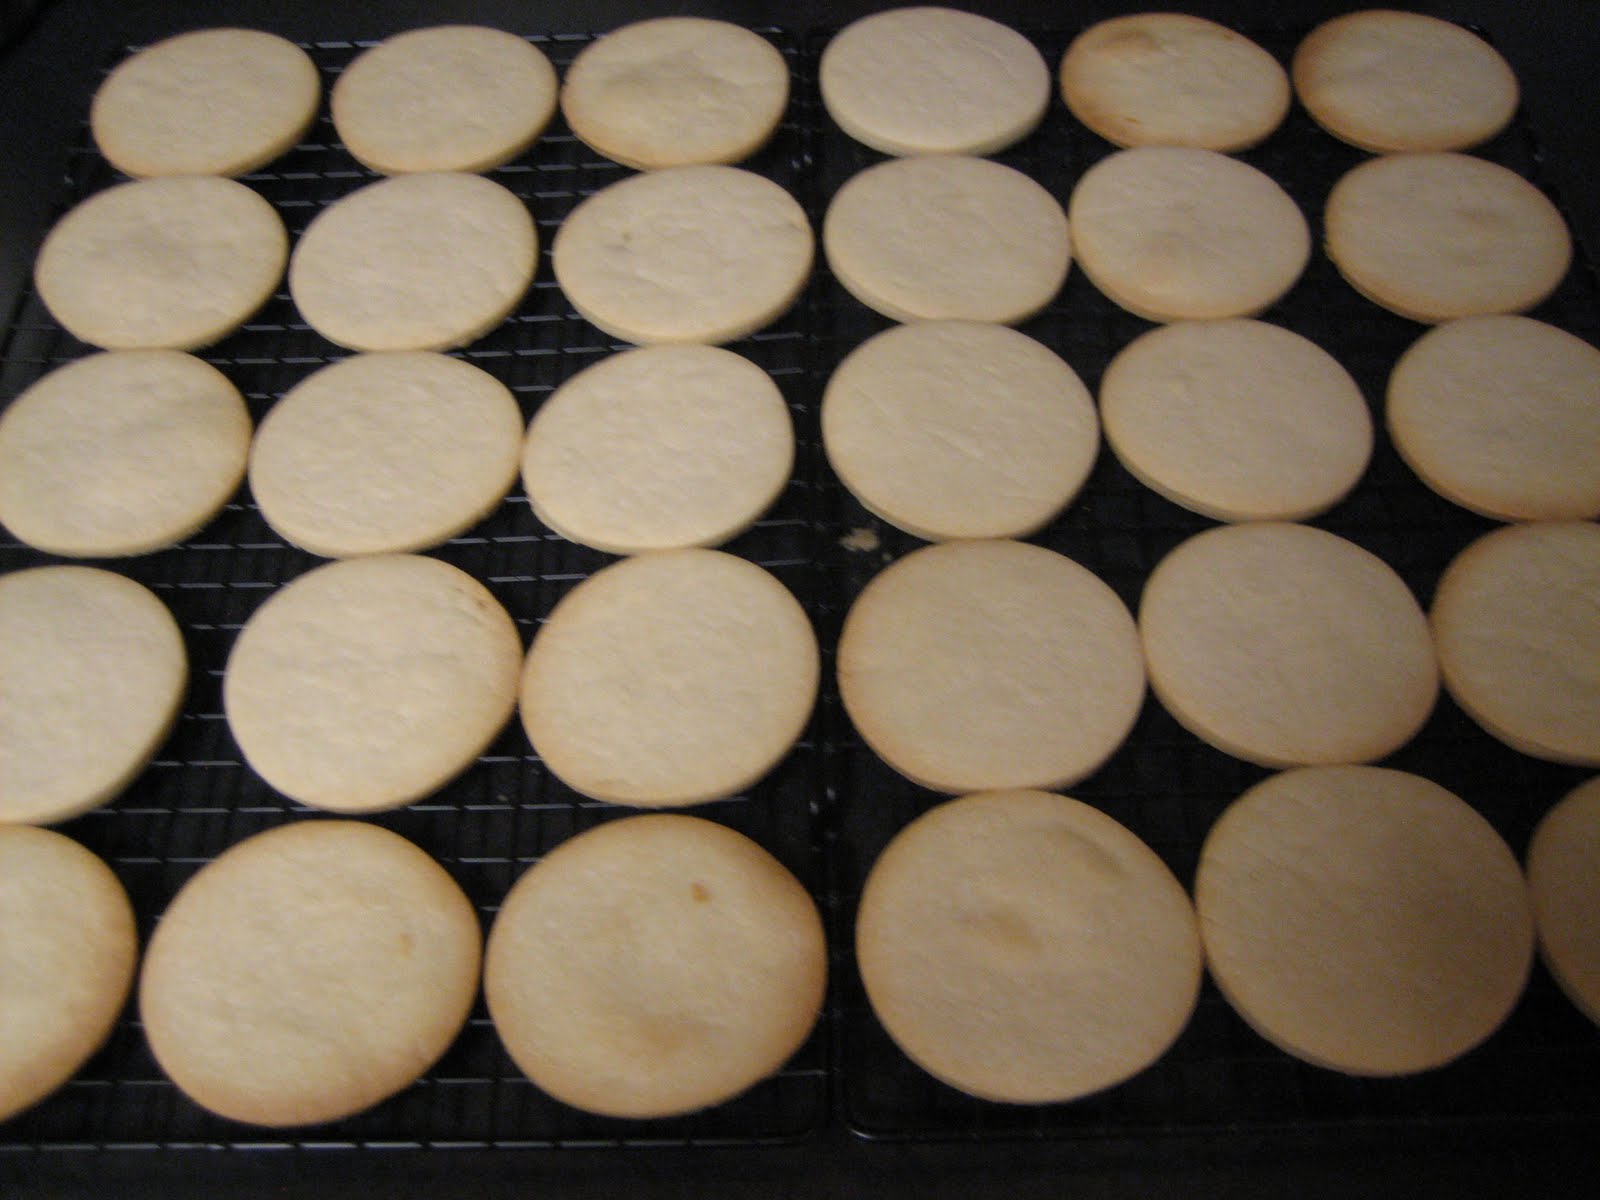
All the baked cookies cooling on the rack.

The challenge required that we decorate the cookies with royal icing, using a flooding technique and any additional piping we wanted. However, the challenge didn't require us to use a specific royal icing recipe, so I just used the Wilton recipe that I usually use.

I knew I didn't need an entire batch of sugar cookies sitting in my house (after all, I have a wedding dress to fit into), so I found them a nice home.

My cousin is a firefighter, so I took the cookies to his firehouse. With that plan in mind, I used a variation of the fire department's logo to decorate the cookies.

I'm told the guys ate them up right away! Which is great news, since it's very likely they'll be receiving the results of future Daring Bakers Challenges.

Here's the recipe if you want to give this version of sugar cookies a try:

~~~~~~~~~~~~~~~~~~~~~~~~~~~~~

Basic Sugar Cookies:

Preparation Time
30 minutes: Making dough & rolling
1 hour min: Refrigeration
8-15 minutes: Baking per tray depending on size of cookies

Makes Approximately 36x 10cm / 4" Cookies

200g / 7oz / ½ cup + 6 Tbsp Unsalted Butter, at room temperature
400g / 14oz / 3 cups + 3 Tbsp All Purpose / Plain Flour
200g / 7oz / 1 cup Caster Sugar / Superfine Sugar
1 Large Egg, lightly beaten
5ml / 1 tsp Vanilla Extract / Or seeds from 1 vanilla bean

Directions
•Cream together the butter, sugar and any flavourings you’re using. Beat until just becomingcreamy in texture.
• Tip: Don’t over mix otherwise you’ll incorporate too much air and the cookies will spread duringbaking, losing their shape.
• Beat in the egg until well combined, make sure to scrape down the sides of the bowl.Add the sifted flour and mix on low until a non sticky dough forms.
• Tip: I don’t have a stand mixer so I find it easier to switch to dough hooks at this stage to avoidflour flying everywhere.
• Knead into a ball and divide into 2 or 3 pieces.
• Roll out each portion between parchment paper to a thickness of about 5mm/1/5 inch (0.2 inch)
• Refrigerate for a minimum of 30mins.
• Tip: Recipes commonly just wrap the whole ball of dough in clingwrap and then refrigerate it for anhour or overnight, but by rolling the dough between parchment, this shortens the chilling time andthen it’s also been rolled out while still soft making it easier and quicker.
• Once chilled, peel off parchment and place dough on a lightly floured surface.
• Cut out shapes with cookie cutters or a sharp knife.
• Arrange shapes on parchment lined baking sheets and refrigerate for another 30mins to an hour.
• Tip: It’s very important you chill them again otherwise they’ll spread while baking.
• Re-roll scraps and follow the above process until all scraps are used up.
• Preheat oven to 180°C (160°C Fan Assisted) / 350°F / Gas Mark 4.
• Bake until golden around the edges, about 8-15mins depending on the size of the cookies.
• Tip: Bake same sized cookies together otherwise mixing smaller with larger cookies could result insome cookies being baked before others are done.
• Tip: Rotate baking sheets half way through baking if your oven bakes unevenly.
• Leave to cool on cooling racks.
• Once completely cooled, decorate as desired.
• Tip: If wrapped in tinfoil/cling wrap or kept in airtight containers in a cool place, un-decoratedcookies can last up to a month.
~~~~~~~~~~~~~~~~~~~~~~~~~~~~~

Enjoy!

Sunday, May 16, 2010

Grass Cupcakes

I received a request for grass cupcakes. You’ll see why in the next post…and trust me, you definitely won’t want to miss it!

Back to the cupcakes…I made a batch of confetti cupcakes in green liners. We were having trouble finding green liners until just a few days before when I came across these at King Soopers:

However, the store only had one package (which does not have enough of one color for a full batch of cupcakes) and I didn't have time that day to check the other stores. But thanks to my wonderful Mom, who picked up some other packages at a different store, we were able to get enough green liners.

Then I tried out a new butter cream recipe; Extra Special Butter Cream. I tweaked it just a tad (details below). Then I dyed it green using a combination of Wilton Kelly Green and Lemon Yellow. As a reminder, butter cream colors always get a couple of shades darker as they set.

I filled a bag with Tip #233 and got to work.


These are preliminary pictures of some of the cupcakes (not the full batch), just wait until you see the final product!

~~~~~~~~~~~~~~~~~~~~
Extra Special Buttercream
(Adapted from a recipe given to me by my cake instructor that she got from an old Wilton newsletter)

1 cup solid vegetable shortening (I used butter flavor Crisco, but regular would work)
1 cup real unsalted butter
2 lbs powdered sugar (~4 cups in a pound)
1 teaspoon (plus a few drops extra) vanilla extract
1/2 teaspoon Wilton butter flavoring
8 oz whipping cream
Optional: a few drops of almond extract

Cream shortening and butter until fluffy. Add sugar and continue creaming until well-blended.
Add flavors (extracts) and whipping cream; blend on low speed until moistened (my little hand mixer had to use medium to have enough power to blend the icing).
Beat at high speed until icing is fluffy.

Notes:
The whipping cream can be replaced with 4-5 tablespoons of water.
For a whit/white icing, use 2 cups of regular shortening (not butter flavor) and no butter with Wilton Clear Vanilla.
The original recipe called for 1/2 a teaspoon of salt, which I did not include because I once heard a story about the salt not absorbing the colors and leaving white spots on the cake when the icing dried. I think this can be avoided by first dissolving the salt before adding to the icing, but I didn't want to risk it.
The original recipe also called for 1 teaspoon of the Wilton butter flavoring, but I was afraid that might be too much since I had the butter flavored Crisco.
The original recipe also recommended 1 teaspoon of almond flavoring, but I wasn't sure how that would taste with confetti cake so I only added a few drops for just a hint of almond flavor.
~~~~~~~~~~~~~~~~~~~~

Saturday, May 1, 2010

Perfect Match

Some friends of ours recently had a baby. We decided to take dinner over one night. And of course I couldn’t send a dinner without dessert, so I decided to make a cake. I figured it would be a good excuse to practice my cake decorating because I haven’t done much since my Wilton cake decorating classes ended.

I used my new Wilton 8-inch round, 3-inch deep cake pan; it holds an entire box of cake mix. It was highly recommended by my Wilton instructor but I didn’t get it until Christmas. I like it because it’s only one pan to clean instead of two and all you have to do is level the top and then cut the rest in half. But, it also gave me the BEST cake I’ve ever had. It came out of the pan so easy and so perfect.

Look, no missing pieces that stuck to the pan.

Isn’t it a beauty. I probably stared at the cake for 3 minutes I was so impressed. (I know you must be thinking I’m crazy, but the small things in life excite me.)

It was a vanilla cake, but I colored it pink since they had a baby girl. (I know, shocking, since those that know me know that I despise the color pink…it goes back to me not being much of a girly girl. But I figured not everyone is as pink averse as myself and it would be kind of cute, and it would kind of match the decorations.

Note how perfectly flat the cake is…

I finally got to use the cake cutter I got for Christmas and it worked great! It was so easy and so level.

As it turns out I get carried away in the baby clothes section of the store. Those mini outfits just sucker you in.

Here’s the gift bag we got them.

What does this have to do with the cake?

Here’s the cake.

I used the gift bag for inspiration.

They match!

In order to match the glitter dots on the bag on the cake I went off to Hobby Lobby to find something that might work. I found pearl dust and I have to say I was very pleased (I used white); it was so easy to use and added just the right amount of shimmer. I can’t wait to use it more in the future.

Sparkle Circles on Gift Bag


Light Pink Sparkle Circle on Cake

Sorry the sparkly shimmer doesn’t really show up that well in the picture.

I needed more than just dots for the top of the cake, so I tried an experiment with the name. It was the first time I had tried something like this that wasn't made out of royal icing.

The name is made out of chocolate!

The cake is frosted in normal frosting. I made the dots (on the cake and on the cake board) and the pink scallop border out of fondant.

Look what else I found at Hobby Lobby….

A fun window cake box!

I have to say that the cake box made it SO much easy to transport and was much more convenient for a ‘drop off’ cake than my cake carrier.

Overall, I'm very happy with how it all turned out!

Sunday, March 28, 2010

Save the Date Cookies

A while back I started thinking about creative and thoughtful ways to ask people to be a part of our special day. Many of our wedding party are located in different states and I wanted to do something more than just a phone call. Plus it’s hard to say no when there’s a small gift involved ;)

Since I love baking and sweet treats I thought I could use cookies to ask. It’d be easy to adapt to the variety of wedding party ‘positions’ and they ship much better than cupcakes.

My vision was dress shaped cookies for bridesmaids, a ring shape for the ring bearer, flower shape for the flower girl, gift cookie for the gift table attendant, book cookie for the guest book attendant, etc. But I needed something for the groomsmen and ushers…

Then I remembered that a long while back I came across a link to a small bakery on the east coast that made ‘Save the Date’ cookies for couples to use in place of standard ‘Save the Date’ stationary. I LOVED the idea! I knew I couldn’t afford to send every wedding invitee a cookie, but I didn’t want to give up on the idea entirely. So, I thought it would be a clever way to let the wedding party know the date we selected and a not too girly cookie design to give all the guys. (Sadly I lost the link to the bakery that inspired me and cannot find it to give them proper credit…if anyone comes across it, please let me know so I can add it to this post.)

I didn’t really want to pay shipping to get the cookies from the east coast to my house and then pay shipping to get the packages sent out to all of the wedding party at their various locations. So I started thinking about other options.

Life has been a bit busy lately, so I thought I might go the outsourcing route. I remembered that there’s a chain cookie bouquet place in the area and they already offered a variety of wedding shapes and I thought they might be open to doing some custom cookies…

It started off well; they said they could make custom cookies…then it took a dive. Each individual cookie (even the standard designs they already had on their ‘menu’) would be almost $8! I’m sorry, but I’m not going to pay that much for a cookie when I can make it myself.

So I made sugar cookies from scratch for the first time in my life.

Then I got started decorating. I used the Wilton recipe for royal icing.

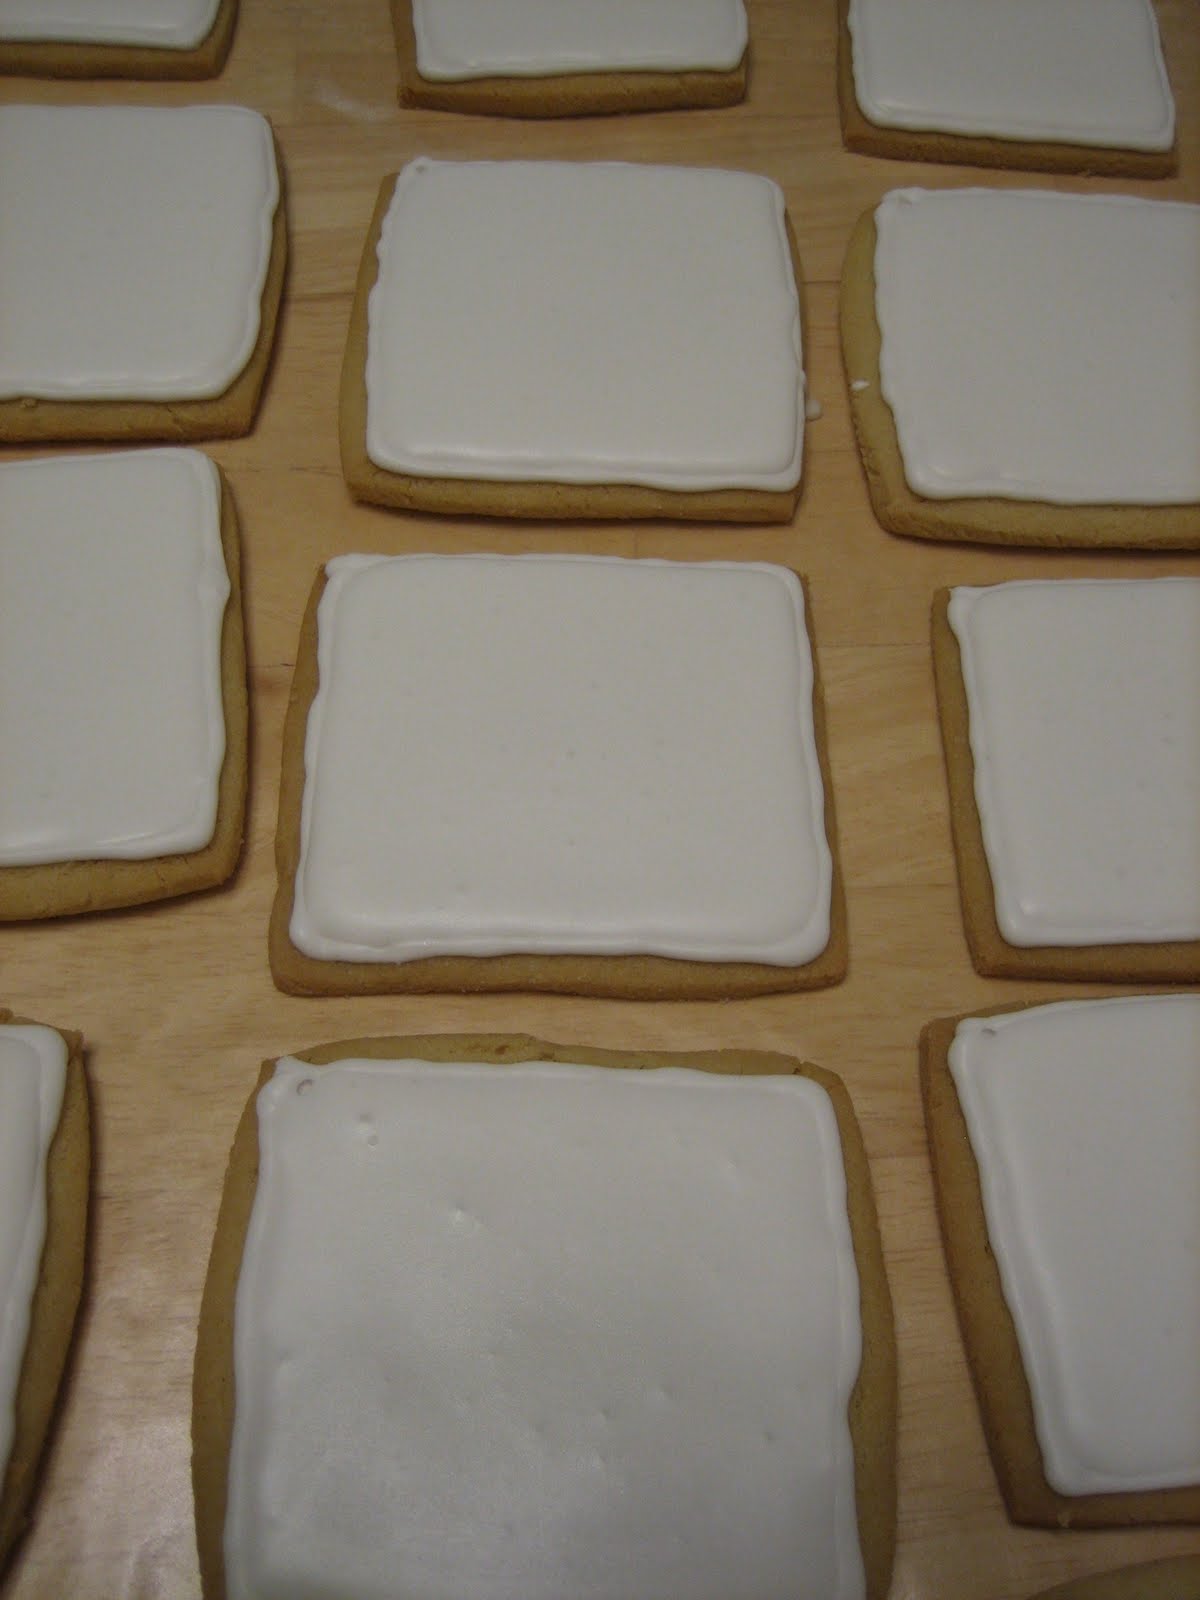
I used stiff royal icing to outline a border around every cookie. Then I thinned the icing out and completely filled in the outlines. I let that set-up overnight.

I also colored some more royal icing to make puddle dots. Basically, just squeeze out the royal icing onto wax paper until you get the size you want. Then just let them dry overnight. I tried to make red…but it was taking too long, so I gave up and made some purple dots also.

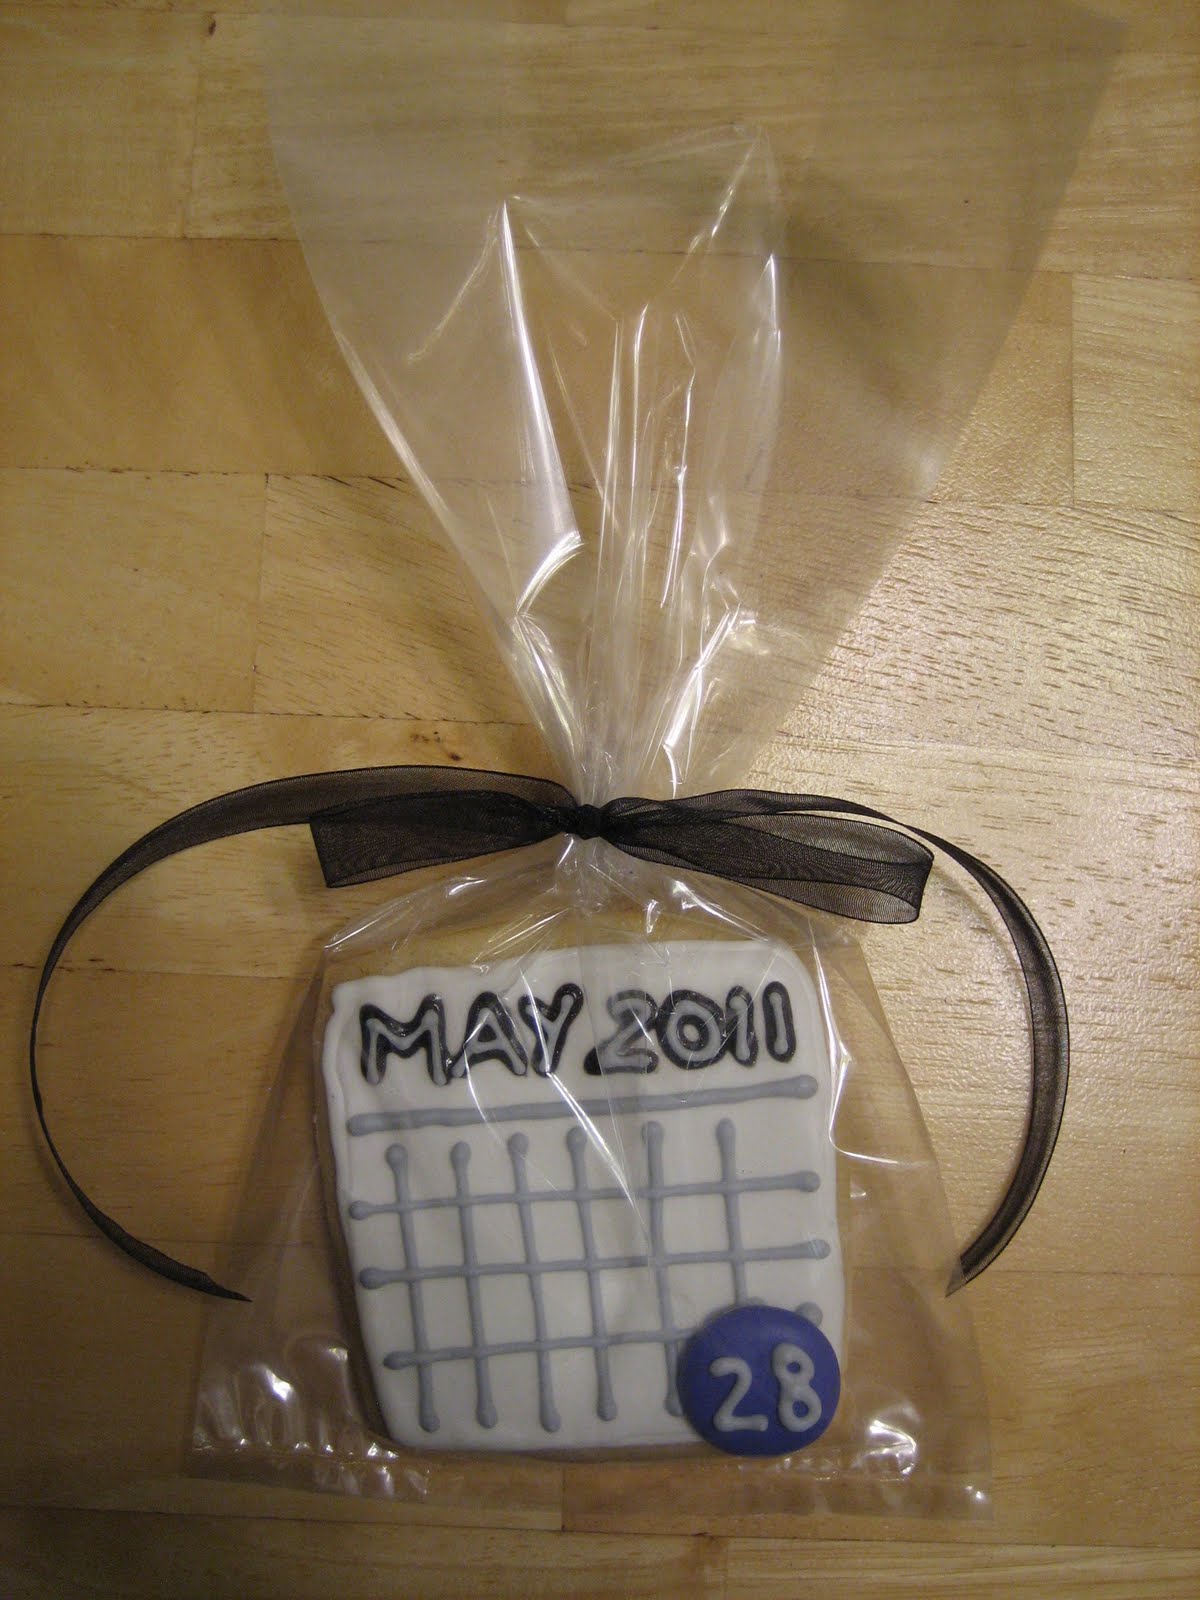
The next day, I used this sparkly gel in black for the month and year…however, I didn’t take into account the consistency of gel and so it didn’t exactly hold its shape, plus I was worried that it wouldn’t set-up so I went over it with gray royal icing…the same icing I used to make the calendar lines and the numbers on the dried puddle dots.

Once the writing on the cookies had set a little (a couple hours or so) I used extra icing to attach the puddle dots.

I think they turned out great! I was so excited about them.

Then I packaged them up and shipped them off.

Initial responses thus far have been overwhelmingly positive...and so far everyone that we have asked to be in or help with the wedding has said yes!

First wedding project = success!