Friday, December 31, 2010
Snowflake Cookies
I first got to help out with some of the Halloween cookies (sorry, I didn't have time to post pictures of those and it just seems silly to post them now).
More recently, I went to the cafe to help with Christmas cookies. I only had time to get the snowflake cookies done that day. Since Colorado finally got some snow, it seemed fitting to share the pictures with you today.
My favorites are the chocolate sugar cookie snowflakes with the white frosting and sanding sugar; I think they are so striking!
I love decorating cookies at the café! It provides me a creative outlet that I often don’t have in my day job and it’s so much fun. Plus, when I decorate cookies there, I obviously have to leave them there, so I don’t wind up eating way too many cookies like I do when I make them at home :)
By the way, these are some of the best sugar cookies I've ever had! If you want to know where to find them, send me an e-mail at: chelle.fiveblog@yahoo.com and I'll send you the address for the cafe.
Enjoy!
Monday, September 27, 2010
Daring Bakers: Decorated Sugar Cookies
I had made sugar cookies from scratch once before when I made these cookies for the challenge. I was excited to try a new recipe and see how it compared.
Once again, I had trouble with the dough being very crumbly.
If ANYONE knows why this is happening, please let me know! (One theory presented so far is that it's because I use a hand mixer and perhaps the recipe is better suited for the faster and more powerful stand mixers?)
I had to smoosh the dough together to get it to form a ball so I could roll it out.
I did really like Mandy's tip in the recipe of rolling out the dough right after mixing and then refrigerating it so it's easier to roll out; versus refrigerating and then rolling out. I also think the refrigerating after cutout and before baking also helped hold the shape. Her other very handy tip was rolling out the dough in between two layers of wax paper; I loved that!
Sorry, I didn't get pictures of the dough rolled out or in the fridge.
Even though this recipe still had crumbly dough, it did a much better job holding the shape of the cutout than the recipe I tried last time.
Baked cookies on the left; cut out dough on the right...almost exactly the same!
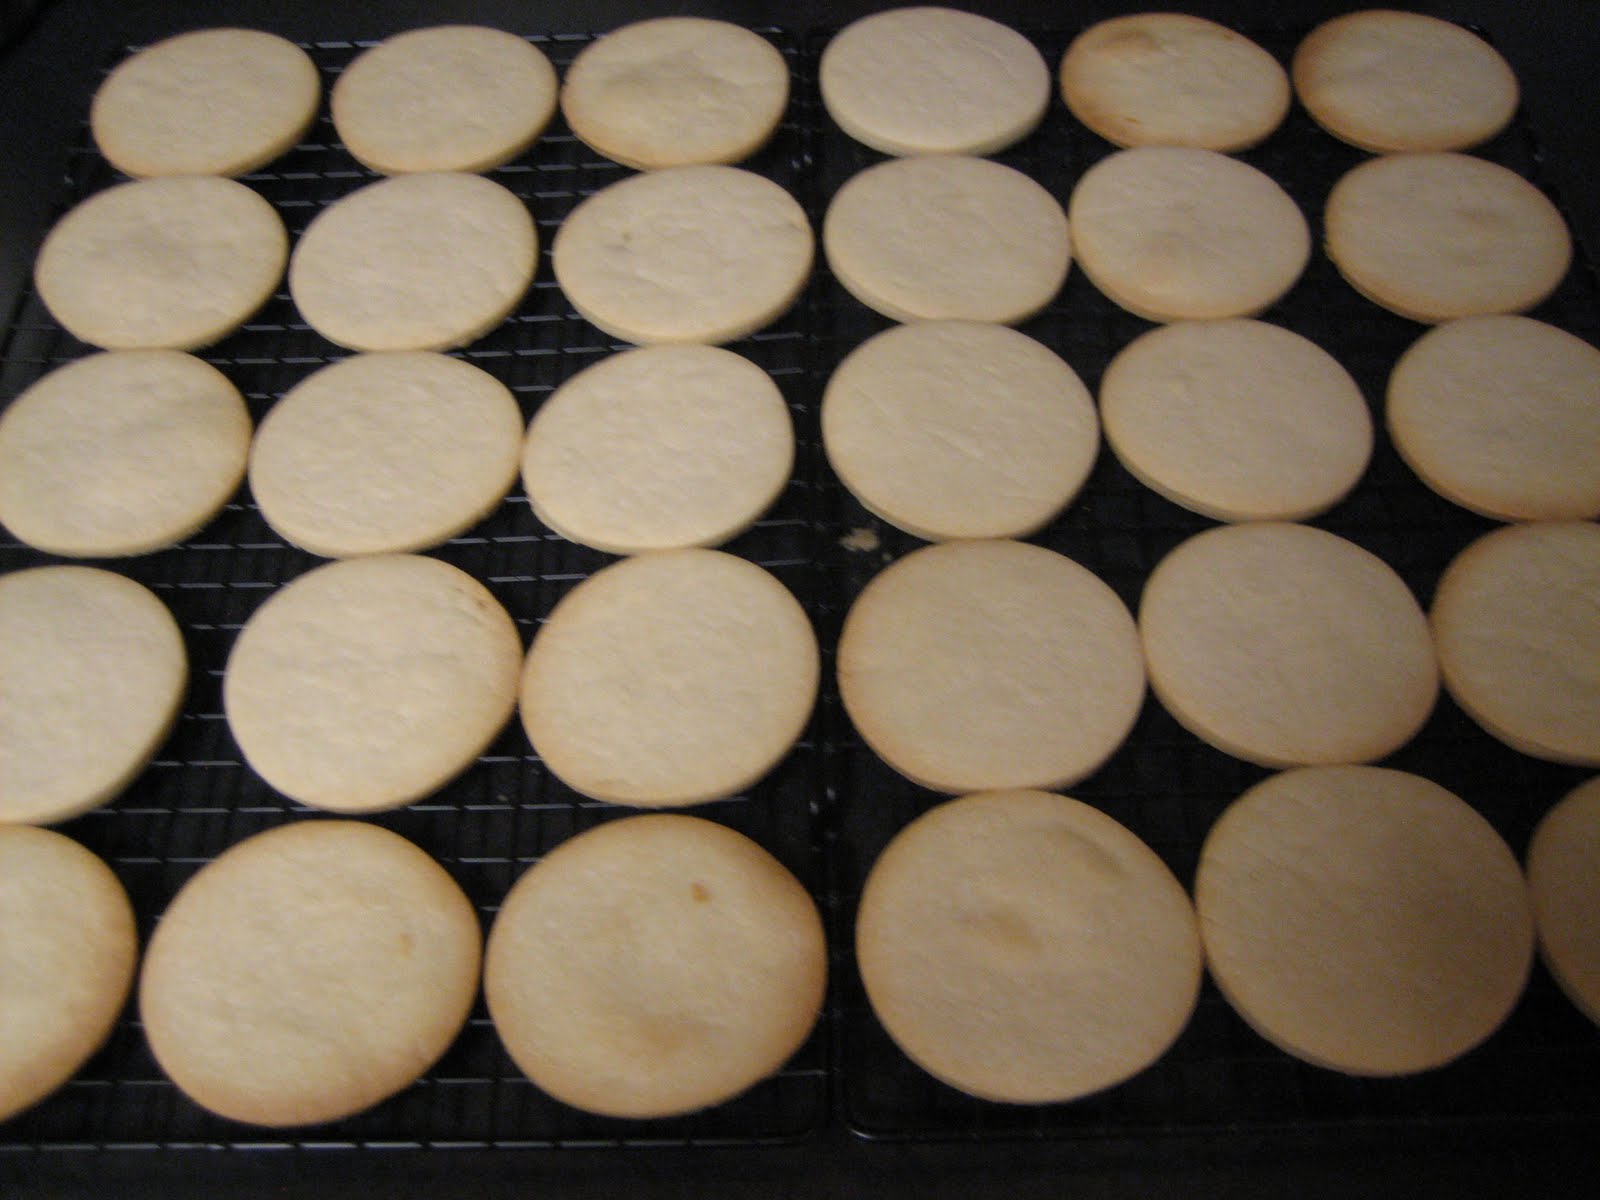
All the baked cookies cooling on the rack.
The challenge required that we decorate the cookies with royal icing, using a flooding technique and any additional piping we wanted. However, the challenge didn't require us to use a specific royal icing recipe, so I just used the Wilton recipe that I usually use.I knew I didn't need an entire batch of sugar cookies sitting in my house (after all, I have a wedding dress to fit into), so I found them a nice home.
My cousin is a firefighter, so I took the cookies to his firehouse. With that plan in mind, I used a variation of the fire department's logo to decorate the cookies.
I'm told the guys ate them up right away! Which is great news, since it's very likely they'll be receiving the results of future Daring Bakers Challenges.
Here's the recipe if you want to give this version of sugar cookies a try:
200g / 7oz / ½ cup + 6 Tbsp Unsalted Butter, at room temperature
Directions
Enjoy!
Wednesday, September 8, 2010
BBQ Recap & Sweet Links
It was also the last BBQ at my house which was somewhat bittersweet. But we did it right – great friends and great food made for a great night!
We provided the meat and fixings, refreshments and desserts. Oh did we have desserts...but more on that later!
We asked guests to bring a salad or side dish to share and we had an overflowing table of amazing and delicious dishes. We have some very talented friends and I definitely need to track down some of the recipes!
Unfortunately I didn’t get a picture of everything, but some of the highlights were:
Broccoli, Almond and Grape Salad – It might sound odd, but it was wonderful
Cha Cha Chicken Canapes – These were all gone by the end of the night
Deviled Eggs – A classic; they were gone immediately
Fruit Salad – Very refreshing
Roasted Vegetables – Delicious; they balanced out the sweets, or so I like to tell myself
Homemade Baked Beans – Perfect for a BBQ
Baked Jalepeno Cheese Dip – This is one of my favorites.
Pioneer Woman’s Bacon Jalepeno Poppers – Of course!
I’m sure I’m forgetting some of the fabulous dishes, so my apologies, they were all great and there were just too many to keep track of.
Also, my fiancé did an excellent job at the grill!
Enjoy!
Sunday, July 11, 2010
Cookie Pizza? Fruit Pizza? Cookie Fruit Pizza!
I searched online to try and find some recipe titles that would prove me right, unfortunately, most of the recipe titles for this type of creation sided with him. However, in my mind a fruit pizza still has a true pizza crust. So I’m going with Cookie Fruit Pizza, it is much more reflective of what the end product actually is.
~~~~~~~~~~~~~~~~~
Cookie Fruit Pizza
1 package refrigerated sugar cookie dough (or you could mix it up with whatever your favorite cookie dough is…chocolate chip walnut for example, chocolate and nuts go great with fruit)
8 oz package of cream cheese, softened
8 oz tub of frozen whipped topping, thawed (you could try some of the flavored frozen whipped topping options as well)
Variety of favorite fruits for the topping*
¼ cup white sugar
pinch of salt
½ tablespoon cornstarch
¼ cup orange juice
1 tablespoon lemon juice
1/8 cup water
¼ teaspoon orange zest (optional)
*I like strawberries, kiwis, mandarin oranges, star fruit, blackberries, and raspberries…I tend not to use bananas unless I’m serving the pizza right away but that seldom happens so I usually leave them off (supposedly you can dip banana slices in lemon juice and they won’t darken, but I haven’t tried it),. You can use whatever your favorites are though…pineapple, peaches, oranges, etc.
Preheat the oven to 350 degrees F. Roll out cookie dough and place onto pan (you can use a pizza pan or just make a rectangular Cookie Fruit Pizza with a normal cookie sheet pan). Don’t worry if you don’t get the dough perfect or it tears while placing into the pan, just cover up any holes or thin spots by smushing on some extra dough wherever needed.
Bake the cookie crust for 10 to 12 minutes or until golden. Allow to cool.
In a large microwave safe bowl, soften the cream cheese with a couple of quick zaps in the microwave (there are usually time instructions for softening on the cream cheese package). Sir the cream cheese to make sure it is all the same consistency.
Fold the whipped topping into the cream cheese. Spread mixture over cooled cookie crust. At this point you can place the crust into the fridge until you are ready to top it with the fruit (this can be done in advance if you want to save some time before a party).
Take your selected fruit toppings, slice and/or peel those that need to be sliced and/or peeled. Arrange the fruit on top of the pizza however you would like – in a circular pattern, in straight or diagonal lines, in shapes, in letters, etc. Place the Cookie Fruit Pizza back into the fridge.
In a small saucepan, mix the sugar, salt, corn starch, orange juice, lemon juice and water. Place over medium heat and stir regularly until it comes to a boil. Let it cook for 1-2 minutes after it comes to a boil or until the sauce has thickened a bit. Remove from heat. If you are using the orange zest mix it in at this point. Allow the mixture to cool, but don’t leave it for too long or it will set-up and you’ll have to start over. Take the Cookie Fruit Pizza out of the fridge and use a pastry brush and brush the sauce over all the fruit. (I usually don’t end up using all of the sauce, I like just enough to have a thin glaze over the fruit, but use as much as you like based on your preference.)
Place the Cookie Fruit Pizza back into the fridge and chill until ready to serve (can chill for as little or as long as you like…anywhere from 2 minutes to 2 hours).
Cut and serve.
~~~~~~~~~~~~~~~~~
Sunday, March 28, 2010
Save the Date Cookies
Since I love baking and sweet treats I thought I could use cookies to ask. It’d be easy to adapt to the variety of wedding party ‘positions’ and they ship much better than cupcakes.
My vision was dress shaped cookies for bridesmaids, a ring shape for the ring bearer, flower shape for the flower girl, gift cookie for the gift table attendant, book cookie for the guest book attendant, etc. But I needed something for the groomsmen and ushers…
Then I remembered that a long while back I came across a link to a small bakery on the east coast that made ‘Save the Date’ cookies for couples to use in place of standard ‘Save the Date’ stationary. I LOVED the idea! I knew I couldn’t afford to send every wedding invitee a cookie, but I didn’t want to give up on the idea entirely. So, I thought it would be a clever way to let the wedding party know the date we selected and a not too girly cookie design to give all the guys. (Sadly I lost the link to the bakery that inspired me and cannot find it to give them proper credit…if anyone comes across it, please let me know so I can add it to this post.)
I didn’t really want to pay shipping to get the cookies from the east coast to my house and then pay shipping to get the packages sent out to all of the wedding party at their various locations. So I started thinking about other options.
Life has been a bit busy lately, so I thought I might go the outsourcing route. I remembered that there’s a chain cookie bouquet place in the area and they already offered a variety of wedding shapes and I thought they might be open to doing some custom cookies…
It started off well; they said they could make custom cookies…then it took a dive. Each individual cookie (even the standard designs they already had on their ‘menu’) would be almost $8! I’m sorry, but I’m not going to pay that much for a cookie when I can make it myself.
So I made sugar cookies from scratch for the first time in my life.
Then I got started decorating. I used the Wilton recipe for royal icing.
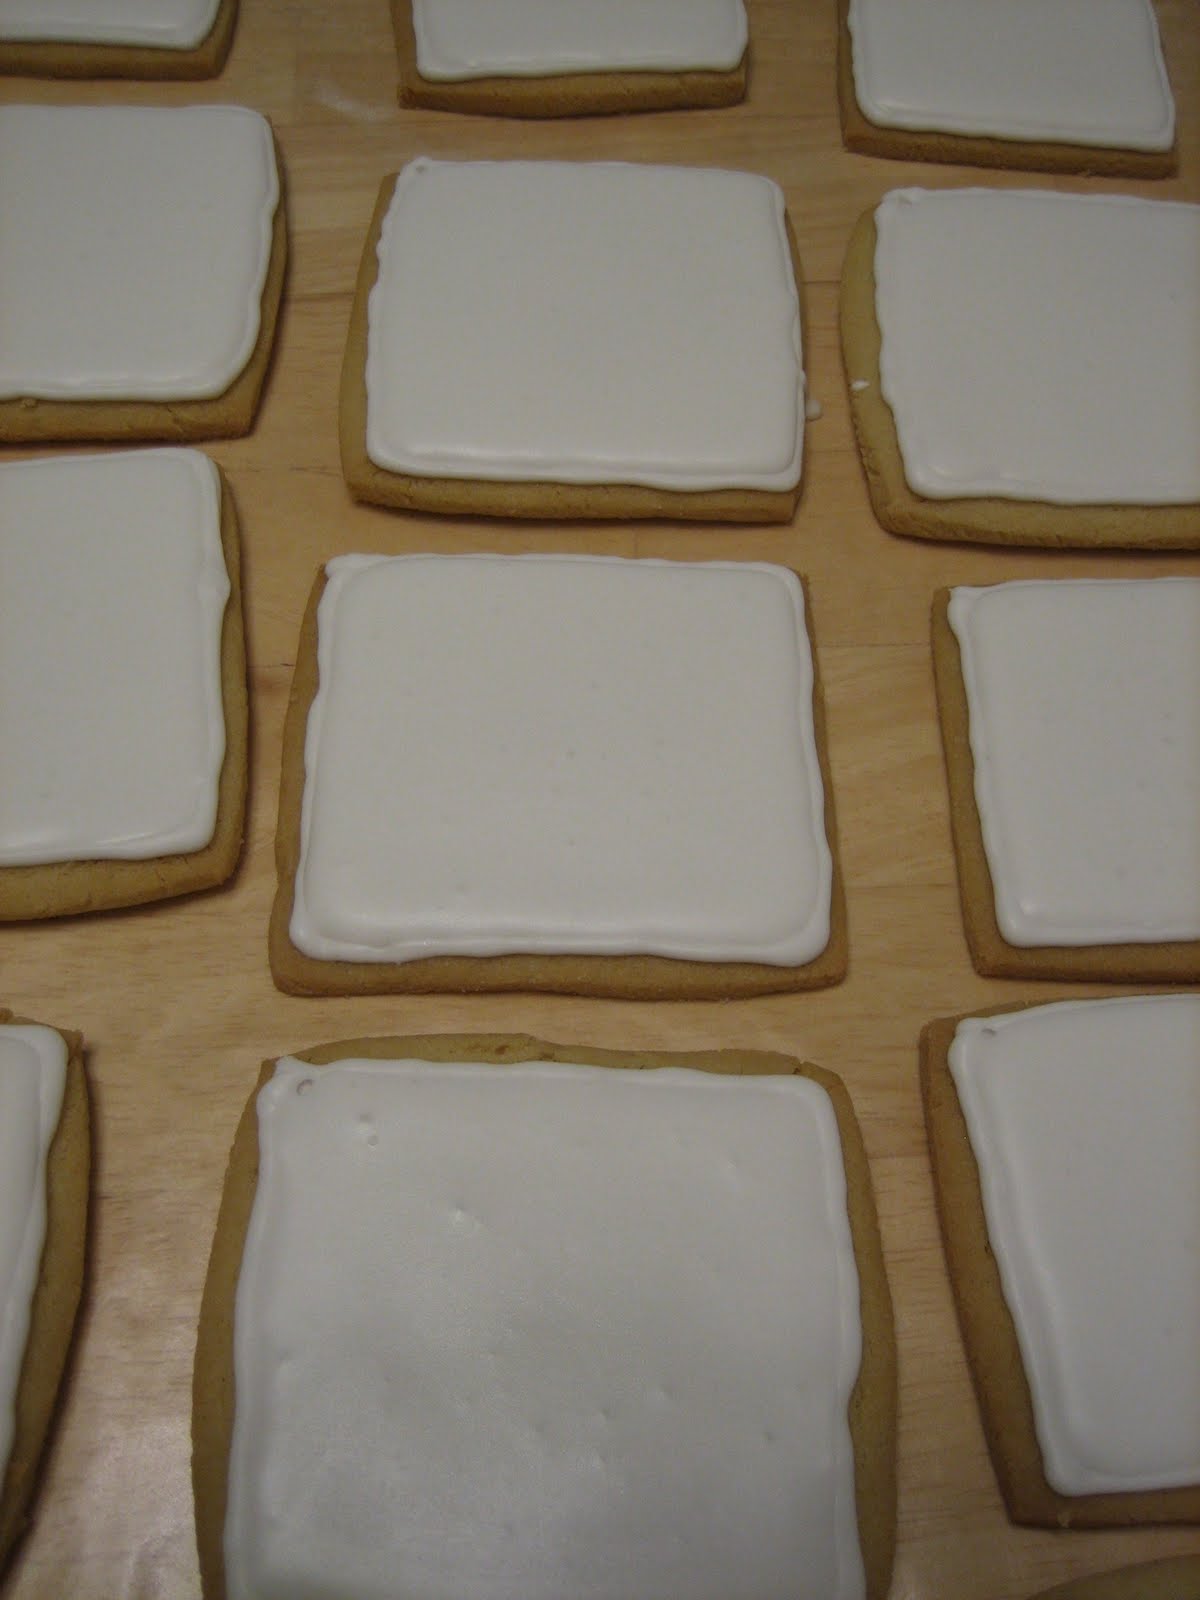
I used stiff royal icing to outline a border around every cookie. Then I thinned the icing out and completely filled in the outlines. I let that set-up overnight.
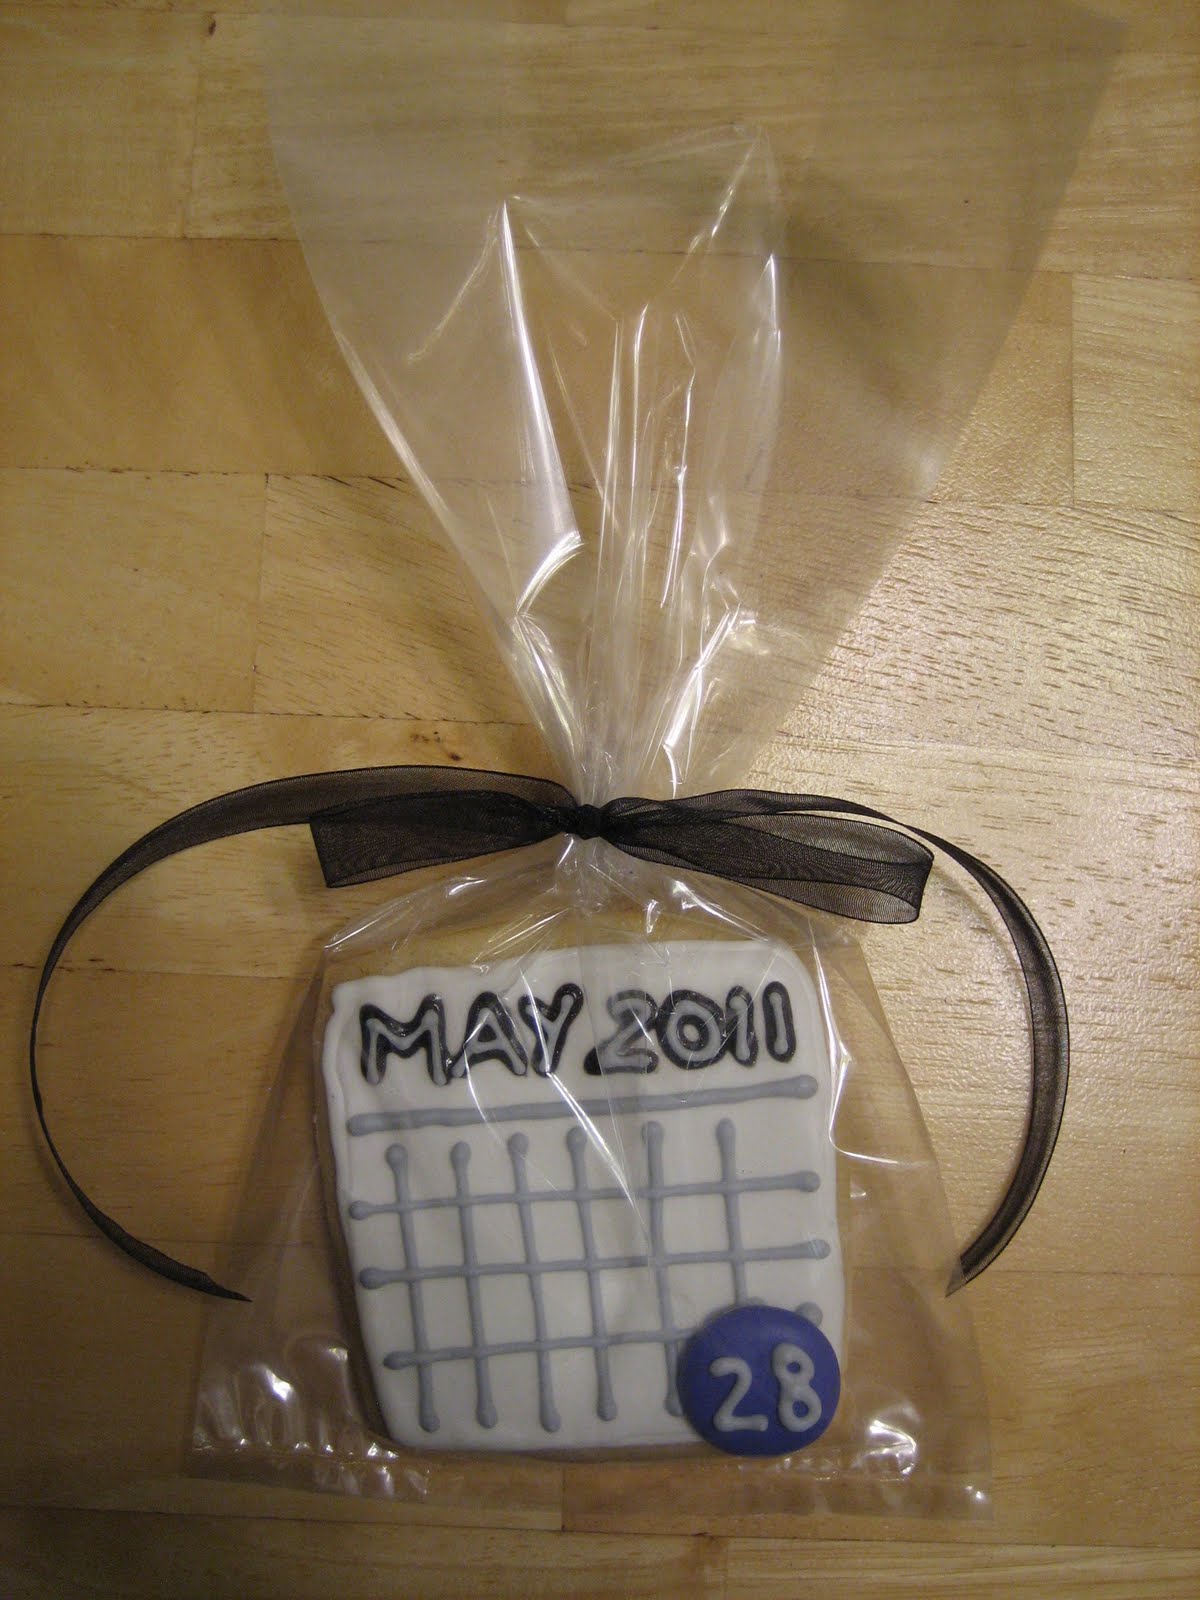
I also colored some more royal icing to make puddle dots. Basically, just squeeze out the royal icing onto wax paper until you get the size you want. Then just let them dry overnight. I tried to make red…but it was taking too long, so I gave up and made some purple dots also.
The next day, I used this sparkly gel in black for the month and year…however, I didn’t take into account the consistency of gel and so it didn’t exactly hold its shape, plus I was worried that it wouldn’t set-up so I went over it with gray royal icing…the same icing I used to make the calendar lines and the numbers on the dried puddle dots.
Once the writing on the cookies had set a little (a couple hours or so) I used extra icing to attach the puddle dots.
I think they turned out great! I was so excited about them.
Then I packaged them up and shipped them off.
Initial responses thus far have been overwhelmingly positive...and so far everyone that we have asked to be in or help with the wedding has said yes!
First wedding project = success!
Sunday, March 21, 2010
Sugar Cookies From Scratch
One of my friends recently bought Pioneer Woman's cookbook and tried out her sugar cookie recipe and said it was delicious. So, I was going to use Pioneer Woman’s recipe until I read through it and saw the warning at the end stating they were very crumbly and not intended to travel…that just wasn’t going to work this time, you’ll understand later.
So I decided to use the Wilton Roll-Out Cookie Recipe from the Wilton Cookie Exchange book. After all, a cookie exchange implies some level of travel. The recipe is also on their website: http://www.wilton.com/recipe/Roll-Out-Cookie-Recipe
I found it odd that the recipe only called for one egg…I also found it odd that the dough was so incredibly crumbly. As I was mixing the ingredients I realized it wasn’t really coming together… I’m used to cookie doughs (mostly oatmeal raisen, oatmeal white chocolate cranberry, and chocolate cookies) where the dough blends together into one large gooey blob. I contemplated adding another egg, but I decided to trust the recipe and make the most of it.
Is sugar cookie dough supposed to be crumbly? If anyone knows, please let me know, because I found it very weird.
I tried to knead all the crumbles together into a disk, so that I could roll the dough out…it mostly worked. Rolling the dough would make the edges start to crack and crumble so I could only get a few cookies out of the center of the dough from each roll. Eventually I got all the cookies cut out.
This particular recipe said not to refrigerate the dough…also something I found a little different. After baking, some cookies held their shape perfectly, some expanded and had some texture on top. Since all the dough was room temperature, I’m assuming it must have been the thickness of the cookies that determined the baking outcome.
Note all the different sizes, that was not on purpose.
All in all, they turned out well and they taste wonderful (I had a scrap cookie that I used as a taste test)!