Sunday, January 2, 2011

Parmesan Garlic Herb Chicken – My First REAL Recipe

A couple of weeks back I had a few things in my pantry and fridge that I wanted to use up and I couldn’t think of a recipe that would work (and I didn’t want to spend a lot of time searching for a recipe). So, I decided to create my own recipe.

I think I’ve mentioned before about one night a week my fiancé comes over to my place for dinner; I thought it would be a great experiment…worst case, it would be a disaster and we order pizza. But that didn’t happen…

The experiment was a SUCCESS!

We definitely did not have to order pizza. I was very careful not to say anything about dinner or give any indication that I had just made up my own recipe because I wanted to get an honest response from my fiancé. Sure enough, a couple of bites into dinner, the following exchange occurred.

Him: “This is pretty good.”
Me: “REALLY?” (Perhaps with an overly excited expression on my face.)
Him: “Yes, why? What did you do? Did you change a recipe?”
Me: “No, I MADE IT UP!”

He liked it! YAY!

It’s a pretty simple recipe and fairly healthy (even healthier if you leave out the cheese, but the cheese surprise when you cut it open is pretty tasty).


~~~~~~~~~~~~~~~~~~~~~~~~~~
Parmesan Garlic Herb Chicken
(Original Recipe by Michelle)

4-5 (depending on size) boneless skinless chicken breasts (thawed)
~ 1/3 cup white cooking wine*
~ ¼ cup extra virgin olive oil
¼ teaspoon dried parsley flakes
¼ teaspoon dried oregano
¼ teaspoon dried thyme
¼ teaspoon dried basil
¼ teaspoon dried marjoram
¼ teaspoon ground black pepper
pinch of salt
6 garlic cloves
1-2 tablespoons reduced fat cream cheese
1/3 cup shredded parmesan

Heat oven to 375 F.

Whisk together the white wine and extra virgin olive oil in a large bowl with a lid (or in a small bowl if using a plastic bag to marinate chicken). Then whisk in the seasonings and add 2 garlic cloves. Add the chicken and place in fridge to marinate for at least one hour or as long as you like.

Chicken Marinating

Mix cream cheese and parmesan in a small bowl.

(I had one of these mini cream cheese tubs left so that is what I used for the cream cheese)
Combined cheese mixture

Remove chicken from marinade and place on plate or cutting board. With a knife, cut a slit in the side of the chicken (it’s usually best to start at the thickest part of the breast). You can make the slide just the size of the knife for just a little bit of filling or as big as you want to get more filling in the chicken.

I used my fingers to stuff the cheese mixture into the slits in the chicken. Make sure you stuff it as far back as possible and don’t fill the slit with cheese all the way to the end of the chicken or it will all just ooze out while the chicken bakes. Press together the end of the slit to try and avoid any oozing.

Place chicken in a baking dish and pour the marinade over the top. Add four more cloves of garlic (make sure they are scattered throughout the baking dish and not all in one place). Place a sprig of fresh rosemary on top of each chicken breast.

Pre-Oven

Bake for 35-45 minutes or until done.

Post Oven
Serve. I paired it with some garlic and spinach pasta in a marinara sauce, but it would also be great with veggies or rice.

*I know most people say not to use cooking wine and that you should never use a wine to cook with that you wouldn’t drink; well I don’t drink wine so I probably couldn’t tell a difference and it’s often easier to buy cooking wine at the grocery store than to make an extra trip to the liquor store and then be stuck with the rest of the bottle of wine. Also, if you don’t like to use wine in your cooking I’m guessing you could easily substitute it with chicken broth or more extra virgin olive oil; but I haven’t tried that out specifically. If you do try a substitution for the wine, let me know how it goes.

~~~~~~~~~~~~~~~~~~~~~~~~~~
This is my first time writing a real recipe, I’ve tried to read through it to make sure it makes sense, but if you have any questions please let me know and I’ll try to clarify the directions as needed.

Give it a try and let me know what you think! I’d love to hear your thoughts and feedback!

Enjoy!

Friday, December 31, 2010

Snowflake Cookies

A few months ago, I was honored to be asked by a local chef/cafe owner to help her decorate holiday cookies.

I first got to help out with some of the Halloween cookies (sorry, I didn't have time to post pictures of those and it just seems silly to post them now).

More recently, I went to the cafe to help with Christmas cookies. I only had time to get the snowflake cookies done that day. Since Colorado finally got some snow, it seemed fitting to share the pictures with you today.

My favorites are the chocolate sugar cookie snowflakes with the white frosting and sanding sugar; I think they are so striking!

I love decorating cookies at the café! It provides me a creative outlet that I often don’t have in my day job and it’s so much fun. Plus, when I decorate cookies there, I obviously have to leave them there, so I don’t wind up eating way too many cookies like I do when I make them at home :)


By the way, these are some of the best sugar cookies I've ever had! If you want to know where to find them, send me an e-mail at: chelle.fiveblog@yahoo.com and I'll send you the address for the cafe.


Enjoy!

Thursday, December 30, 2010

Five is One!

Exactly one year ago today, I posted my very first blog post.

That means that today is my blog’s 1st birthday!

Thank you so much to all of you that have stopped by my blog to read my posts. A special thank you to those that have left comments and encouraged me in this fun little journey.

Wednesday, December 29, 2010

Chocolate Peppermint Cookies

Every year at work, our division has a ‘Holiday Goodie Table’ the week before break. They divide up the alphabet and folks are welcome to bring in treats to share on their assigned day.

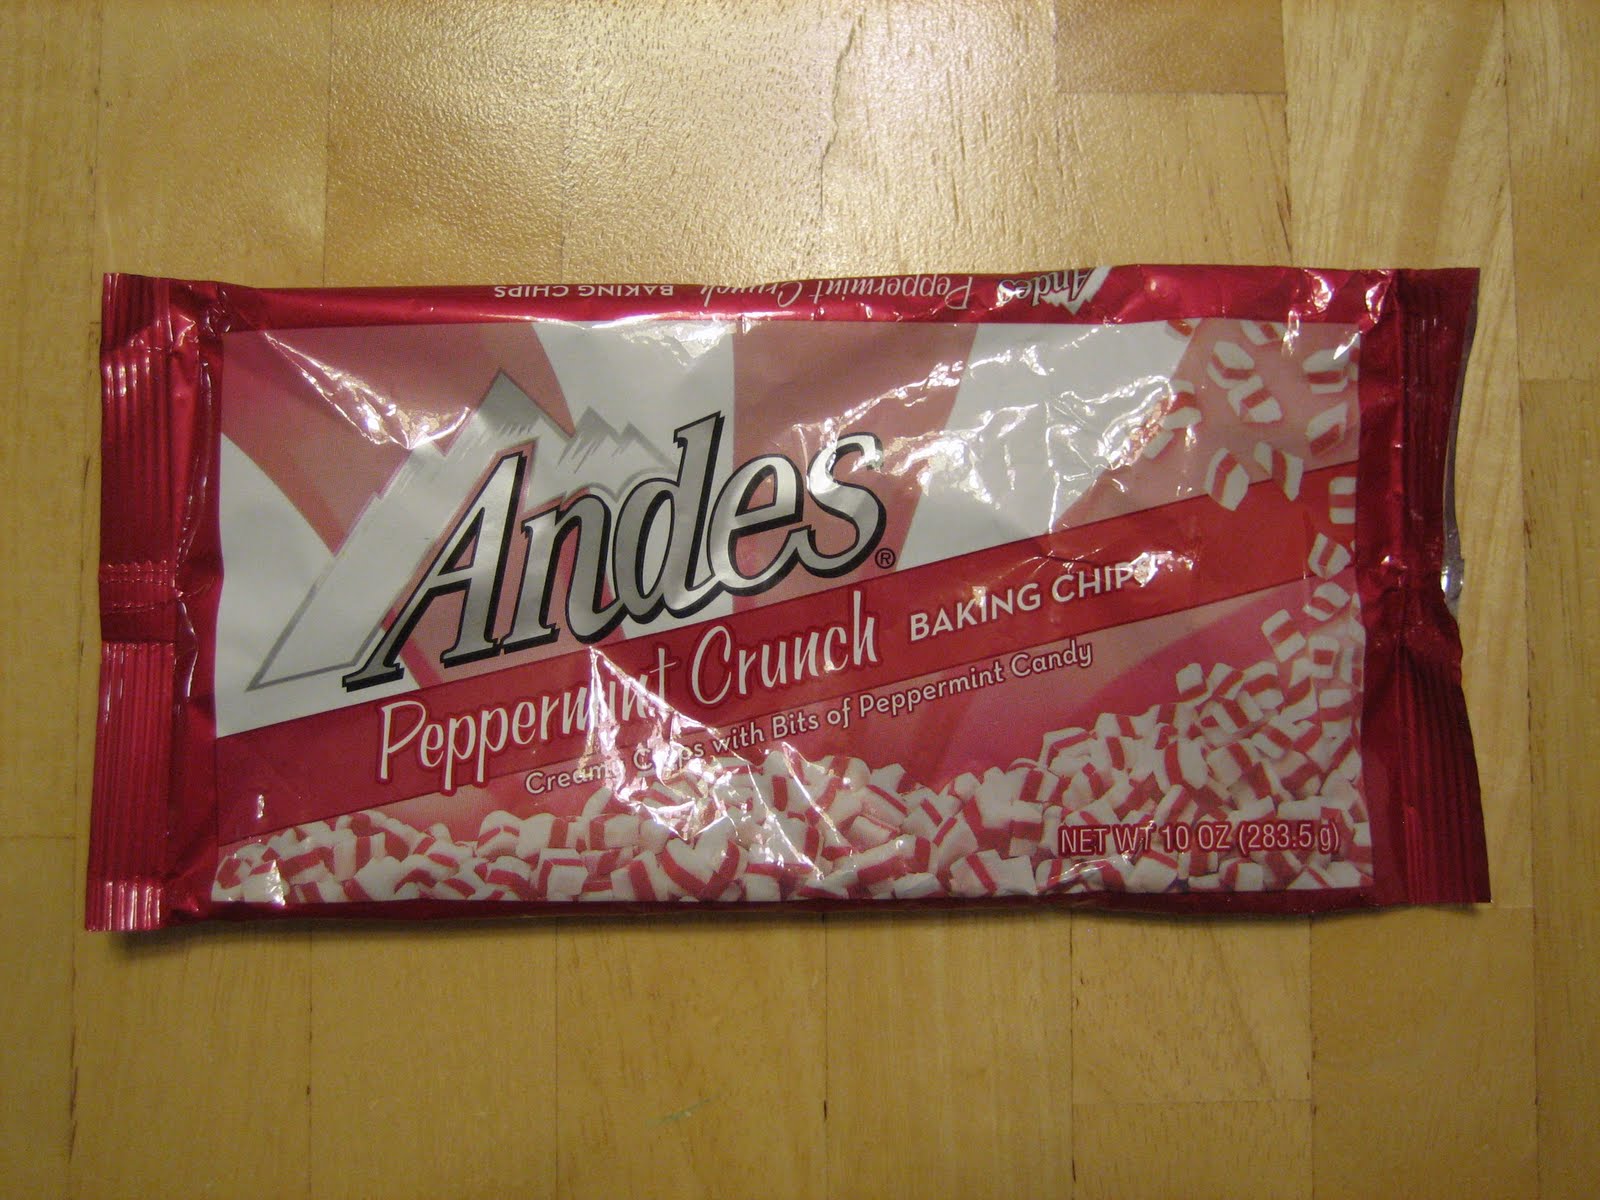
I decided to use up some peppermint chips that I had in the freezer, but I didn’t really like the recipe suggested on the back. I decided the best pairing for peppermint chips would be chocolate. So I adapted the recipe from the back of the Reese’s peanut butter chips bag (a recipe that I have used before).

They turned out great! Here's the recipe:

~~~~~~~~~~~~~~~~~~~~~~~~~~~~~~~~
Chocolate Peppermint Cookies
Adapted from Reese’s Chewy Chocolate Cookies
(recipe on back of Reese’s peanut butter chips bag)

2 cups all-purpose flour (I used unbleached)
¾ cup (I used generous measurements, not leveled off) cocoa
1 teaspoon baking soda
½ teaspoon salt
1 ¼ cups (2 ½ sticks) butter, softened
2 cups sugar
2 eggs
2 teaspoons vanilla extract
1 ¾ cups Andes Peppermint Crunch Chips

Heat oven to 350 F.

Stir together flour, cocoa, baking soda and salt in a medium bowl. Beat butter and sugar in large bowl with mixer until fluffy. Add eggs and vanilla; beat well. Gradually add flour mixture, beating well. Stir in peppermint chips.

Drop by rounded teaspoons onto ungreased cookie sheet. Bake 10-12 minutes. (Do not overbake; cookies will be soft. They will puff while baking and flatten while cooling.) Cool slightly; remove from cookie sheet to wire rack. Cool completely.

Makes about 4 ½ dozen cookies.
~~~~~~~~~~~~~~~~~~~~~~~~~~~~~~~~


Enjoy!

Tuesday, December 28, 2010

Party Post: Jungle Baby Shower

As I mentioned in the previous post; one of my friends hosted an amazing Jungle Baby Shower for one of our other friends. You saw the invitations and cupcakes yesterday, so I'll just show you all of the other adorable details today. It’s such a cute theme and perfect for moms that have decided to wait to find out what they are having.

Take a look at all these details.

Matching plates and napkins with matching stuffed animals helped complete the cupcake table.


Clothesline #1


Clothesline #2 (Sorry about the picture quality on this one.)


Hanging decorations helped carry the theme throughout the entire room.


Fun presents


Adorable centerpieces made out of little baby washcloths – such a creative idea!


Cute favors for everyone to take home.
Enjoy!

Monday, December 27, 2010

Jungle Cupcakes

I’m lucky enough to have some amazing friends in my life that I’ve known since I was very young. Some people find that weird; perhaps because it’s so rare these days that relationships would last so long with so many people constantly on the go and moving around. But it’s not weird to us; in fact I think it’s one of the greatest blessings. It’s nice having people that not only know who you are now, but know who you were, where you came from and how you’ve grown. It’s also so much fun going through various life stages with all of them.

For example, one of these friends is expecting her first baby and another friend hosted an adorable baby shower for her! (There will be a Party Post tomorrow with all of the amazing and thoughtful details that went into the shower.) The hostess thought cupcakes would be perfect for a baby shower since they are essentially ‘baby’ cakes. So, she asked me to make them, I was so excited!

We met over coffee so I could find out all the pertinent details: shower theme, style, flavors, quantity, etc.

She had found the most adorable invitations that were the primary inspiration for the cupcakes and the shower.

We searched stores and online for coordinating cupcake liners and/or wrappers and found the perfect set from Wilton (found at Michael’s).

The cupcakes were white cake with white ‘Extra Special Buttercream’. Since the paper liners, wrappers and picks were fairly colorful I decided to keep the frosting color and design simple, just a simple swirl with a large star tip.

I think they turned out very cute; but wait until you see the rest of the shower details tomorrow!

Enjoy!

Sunday, December 26, 2010

Cake Balls

What do you do when a cake falls apart like this one did?

(This post is about a month late which you probably noticed based on the date of the crumbled cake post - sorry!)

You can either use it as an excuse to eat it as is, or make cake balls! Since I had to have something to take to a party anyway and I already had the broken cake and leftover frosting from a few cakes I had done recently; I opted to give cake balls another try.

This time I was going to try and make a few cake pops from Bakerella's new book to go with some cupcakes I was making for a baby shower that weekend (post to come soon) and use the rest as plain cake balls for the party we were going to; but I was having some issues and running low on time, so I turned them all into cake balls.

You can find detailed instructions, and much prettier versions of cake balls and cake pops, on Bakerella's web site or you can view my first attempt here.

Here's a quick overview:
Basically, you crumble up a baked cake and mix in frosting. This time I used leftover 'Extra Special Buttercream' instead of the canned frosting. Then form the cake/icing mixture into balls and refrigerate or freeze for the required amount of time. Melt your chocolate and/or candy coating according to package directions. This time I used milk chocolate, white chocolate and peanut butter candy coating. Dip the balls into the melted chocolate/coating and let set. Then refrigerate until ready to serve.

If you don't care what they look like, which obviously I didn't this time, it's a pretty easy and fast solution to a crumbled cake. If you do want to make them look better or try any of Bakerella's cake pops, you'll need a lot more time and attention to detail.

These were pretty popular at the party, which was great because I didn't want to have to bring any home!

Enjoy!