Showing posts with label royal icing. Show all posts

Friday, December 31, 2010

Snowflake Cookies

A few months ago, I was honored to be asked by a local chef/cafe owner to help her decorate holiday cookies.

I first got to help out with some of the Halloween cookies (sorry, I didn't have time to post pictures of those and it just seems silly to post them now).

More recently, I went to the cafe to help with Christmas cookies. I only had time to get the snowflake cookies done that day. Since Colorado finally got some snow, it seemed fitting to share the pictures with you today.

My favorites are the chocolate sugar cookie snowflakes with the white frosting and sanding sugar; I think they are so striking!

I love decorating cookies at the cafĂ©! It provides me a creative outlet that I often don’t have in my day job and it’s so much fun. Plus, when I decorate cookies there, I obviously have to leave them there, so I don’t wind up eating way too many cookies like I do when I make them at home :)


By the way, these are some of the best sugar cookies I've ever had! If you want to know where to find them, send me an e-mail at: chelle.fiveblog@yahoo.com and I'll send you the address for the cafe.


Enjoy!

Monday, September 27, 2010

Daring Bakers: Decorated Sugar Cookies

The September 2010 Daring Bakers’ challenge was hosted by Mandy of “What the Fruitcake?!” Mandy challenged everyone to make Decorated Sugar Cookies based on recipes from Peggy Porschen and The Joy of Baking.

I had made sugar cookies from scratch once before when I made these cookies for the challenge. I was excited to try a new recipe and see how it compared.

Once again, I had trouble with the dough being very crumbly.

If ANYONE knows why this is happening, please let me know! (One theory presented so far is that it's because I use a hand mixer and perhaps the recipe is better suited for the faster and more powerful stand mixers?)

I had to smoosh the dough together to get it to form a ball so I could roll it out.

I did really like Mandy's tip in the recipe of rolling out the dough right after mixing and then refrigerating it so it's easier to roll out; versus refrigerating and then rolling out. I also think the refrigerating after cutout and before baking also helped hold the shape. Her other very handy tip was rolling out the dough in between two layers of wax paper; I loved that!

Sorry, I didn't get pictures of the dough rolled out or in the fridge.

Even though this recipe still had crumbly dough, it did a much better job holding the shape of the cutout than the recipe I tried last time.

Baked cookies on the left; cut out dough on the right...almost exactly the same!

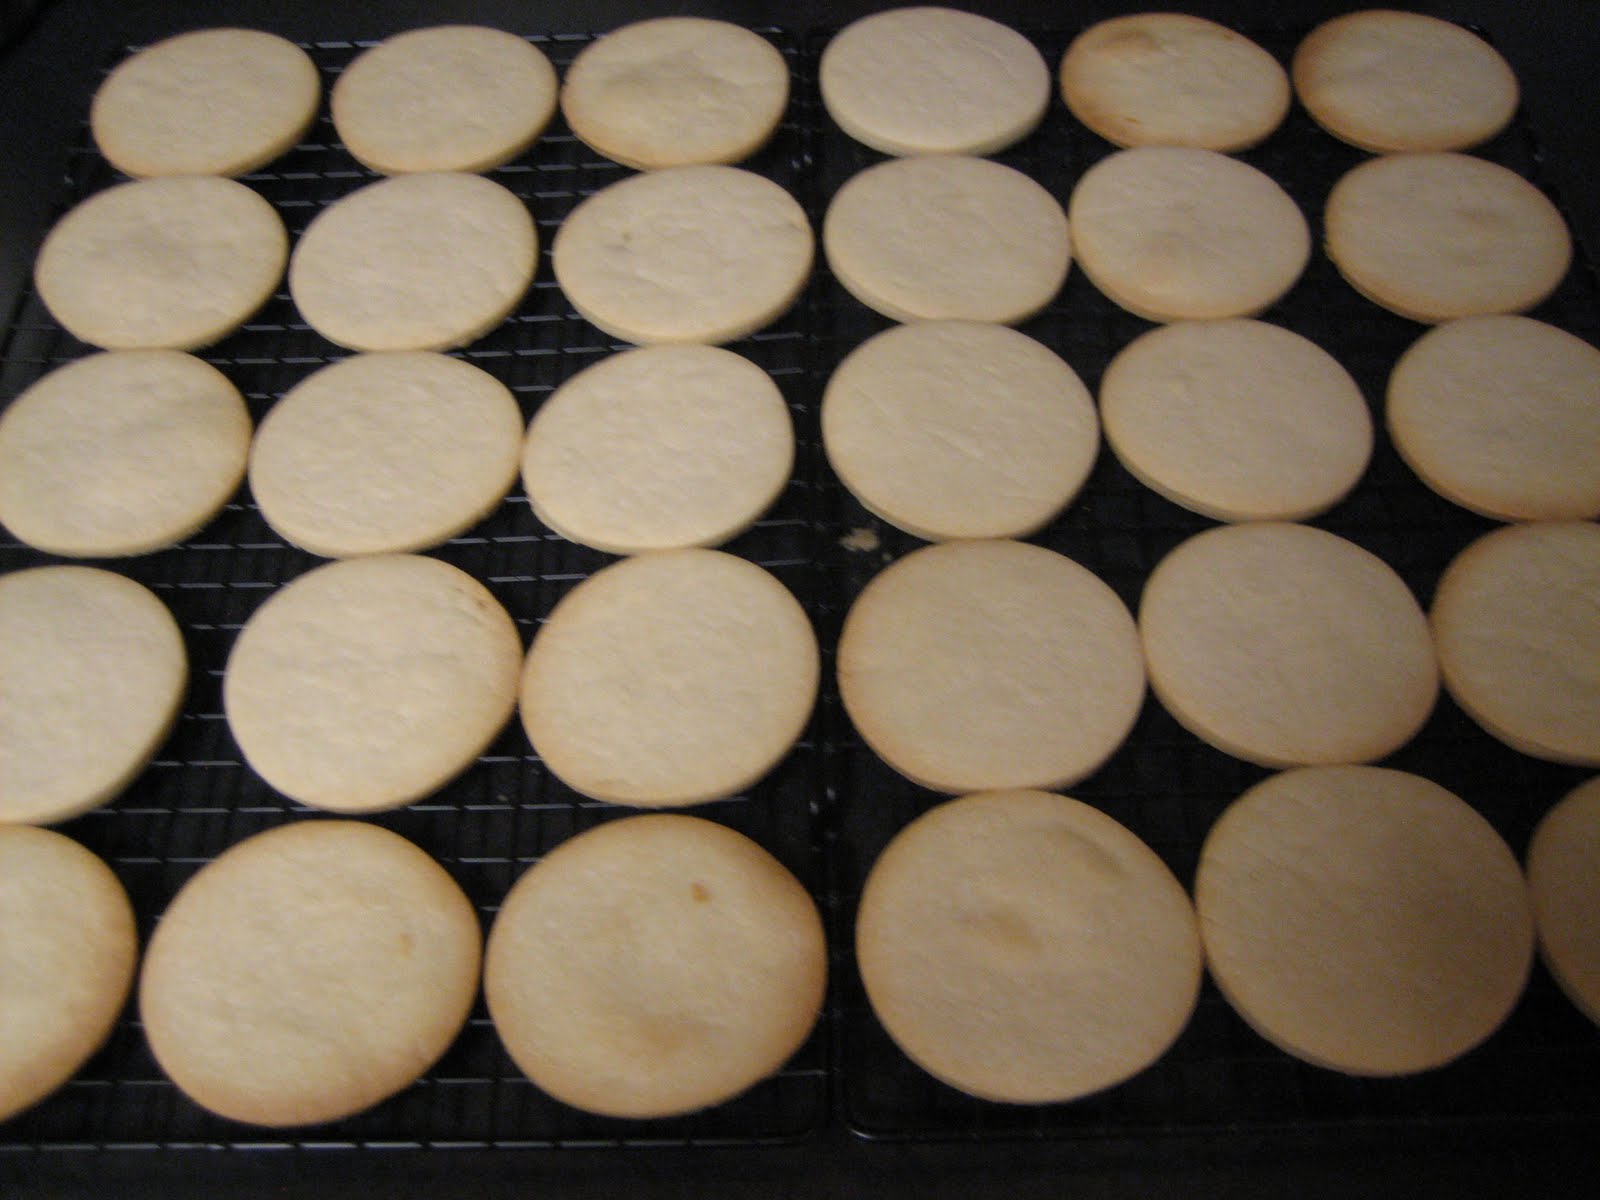
All the baked cookies cooling on the rack.

The challenge required that we decorate the cookies with royal icing, using a flooding technique and any additional piping we wanted. However, the challenge didn't require us to use a specific royal icing recipe, so I just used the Wilton recipe that I usually use.

I knew I didn't need an entire batch of sugar cookies sitting in my house (after all, I have a wedding dress to fit into), so I found them a nice home.

My cousin is a firefighter, so I took the cookies to his firehouse. With that plan in mind, I used a variation of the fire department's logo to decorate the cookies.

I'm told the guys ate them up right away! Which is great news, since it's very likely they'll be receiving the results of future Daring Bakers Challenges.

Here's the recipe if you want to give this version of sugar cookies a try:

~~~~~~~~~~~~~~~~~~~~~~~~~~~~~

Basic Sugar Cookies:

Preparation Time
30 minutes: Making dough & rolling
1 hour min: Refrigeration
8-15 minutes: Baking per tray depending on size of cookies

Makes Approximately 36x 10cm / 4" Cookies

200g / 7oz / ½ cup + 6 Tbsp Unsalted Butter, at room temperature
400g / 14oz / 3 cups + 3 Tbsp All Purpose / Plain Flour
200g / 7oz / 1 cup Caster Sugar / Superfine Sugar
1 Large Egg, lightly beaten
5ml / 1 tsp Vanilla Extract / Or seeds from 1 vanilla bean

Directions
•Cream together the butter, sugar and any flavourings you’re using. Beat until just becomingcreamy in texture.
• Tip: Don’t over mix otherwise you’ll incorporate too much air and the cookies will spread duringbaking, losing their shape.
• Beat in the egg until well combined, make sure to scrape down the sides of the bowl.Add the sifted flour and mix on low until a non sticky dough forms.
• Tip: I don’t have a stand mixer so I find it easier to switch to dough hooks at this stage to avoidflour flying everywhere.
• Knead into a ball and divide into 2 or 3 pieces.
• Roll out each portion between parchment paper to a thickness of about 5mm/1/5 inch (0.2 inch)
• Refrigerate for a minimum of 30mins.
• Tip: Recipes commonly just wrap the whole ball of dough in clingwrap and then refrigerate it for anhour or overnight, but by rolling the dough between parchment, this shortens the chilling time andthen it’s also been rolled out while still soft making it easier and quicker.
• Once chilled, peel off parchment and place dough on a lightly floured surface.
• Cut out shapes with cookie cutters or a sharp knife.
• Arrange shapes on parchment lined baking sheets and refrigerate for another 30mins to an hour.
• Tip: It’s very important you chill them again otherwise they’ll spread while baking.
• Re-roll scraps and follow the above process until all scraps are used up.
• Preheat oven to 180°C (160°C Fan Assisted) / 350°F / Gas Mark 4.
• Bake until golden around the edges, about 8-15mins depending on the size of the cookies.
• Tip: Bake same sized cookies together otherwise mixing smaller with larger cookies could result insome cookies being baked before others are done.
• Tip: Rotate baking sheets half way through baking if your oven bakes unevenly.
• Leave to cool on cooling racks.
• Once completely cooled, decorate as desired.
• Tip: If wrapped in tinfoil/cling wrap or kept in airtight containers in a cool place, un-decoratedcookies can last up to a month.
~~~~~~~~~~~~~~~~~~~~~~~~~~~~~

Enjoy!

Sunday, March 28, 2010

Save the Date Cookies

A while back I started thinking about creative and thoughtful ways to ask people to be a part of our special day. Many of our wedding party are located in different states and I wanted to do something more than just a phone call. Plus it’s hard to say no when there’s a small gift involved ;)

Since I love baking and sweet treats I thought I could use cookies to ask. It’d be easy to adapt to the variety of wedding party ‘positions’ and they ship much better than cupcakes.

My vision was dress shaped cookies for bridesmaids, a ring shape for the ring bearer, flower shape for the flower girl, gift cookie for the gift table attendant, book cookie for the guest book attendant, etc. But I needed something for the groomsmen and ushers…

Then I remembered that a long while back I came across a link to a small bakery on the east coast that made ‘Save the Date’ cookies for couples to use in place of standard ‘Save the Date’ stationary. I LOVED the idea! I knew I couldn’t afford to send every wedding invitee a cookie, but I didn’t want to give up on the idea entirely. So, I thought it would be a clever way to let the wedding party know the date we selected and a not too girly cookie design to give all the guys. (Sadly I lost the link to the bakery that inspired me and cannot find it to give them proper credit…if anyone comes across it, please let me know so I can add it to this post.)

I didn’t really want to pay shipping to get the cookies from the east coast to my house and then pay shipping to get the packages sent out to all of the wedding party at their various locations. So I started thinking about other options.

Life has been a bit busy lately, so I thought I might go the outsourcing route. I remembered that there’s a chain cookie bouquet place in the area and they already offered a variety of wedding shapes and I thought they might be open to doing some custom cookies…

It started off well; they said they could make custom cookies…then it took a dive. Each individual cookie (even the standard designs they already had on their ‘menu’) would be almost $8! I’m sorry, but I’m not going to pay that much for a cookie when I can make it myself.

So I made sugar cookies from scratch for the first time in my life.

Then I got started decorating. I used the Wilton recipe for royal icing.

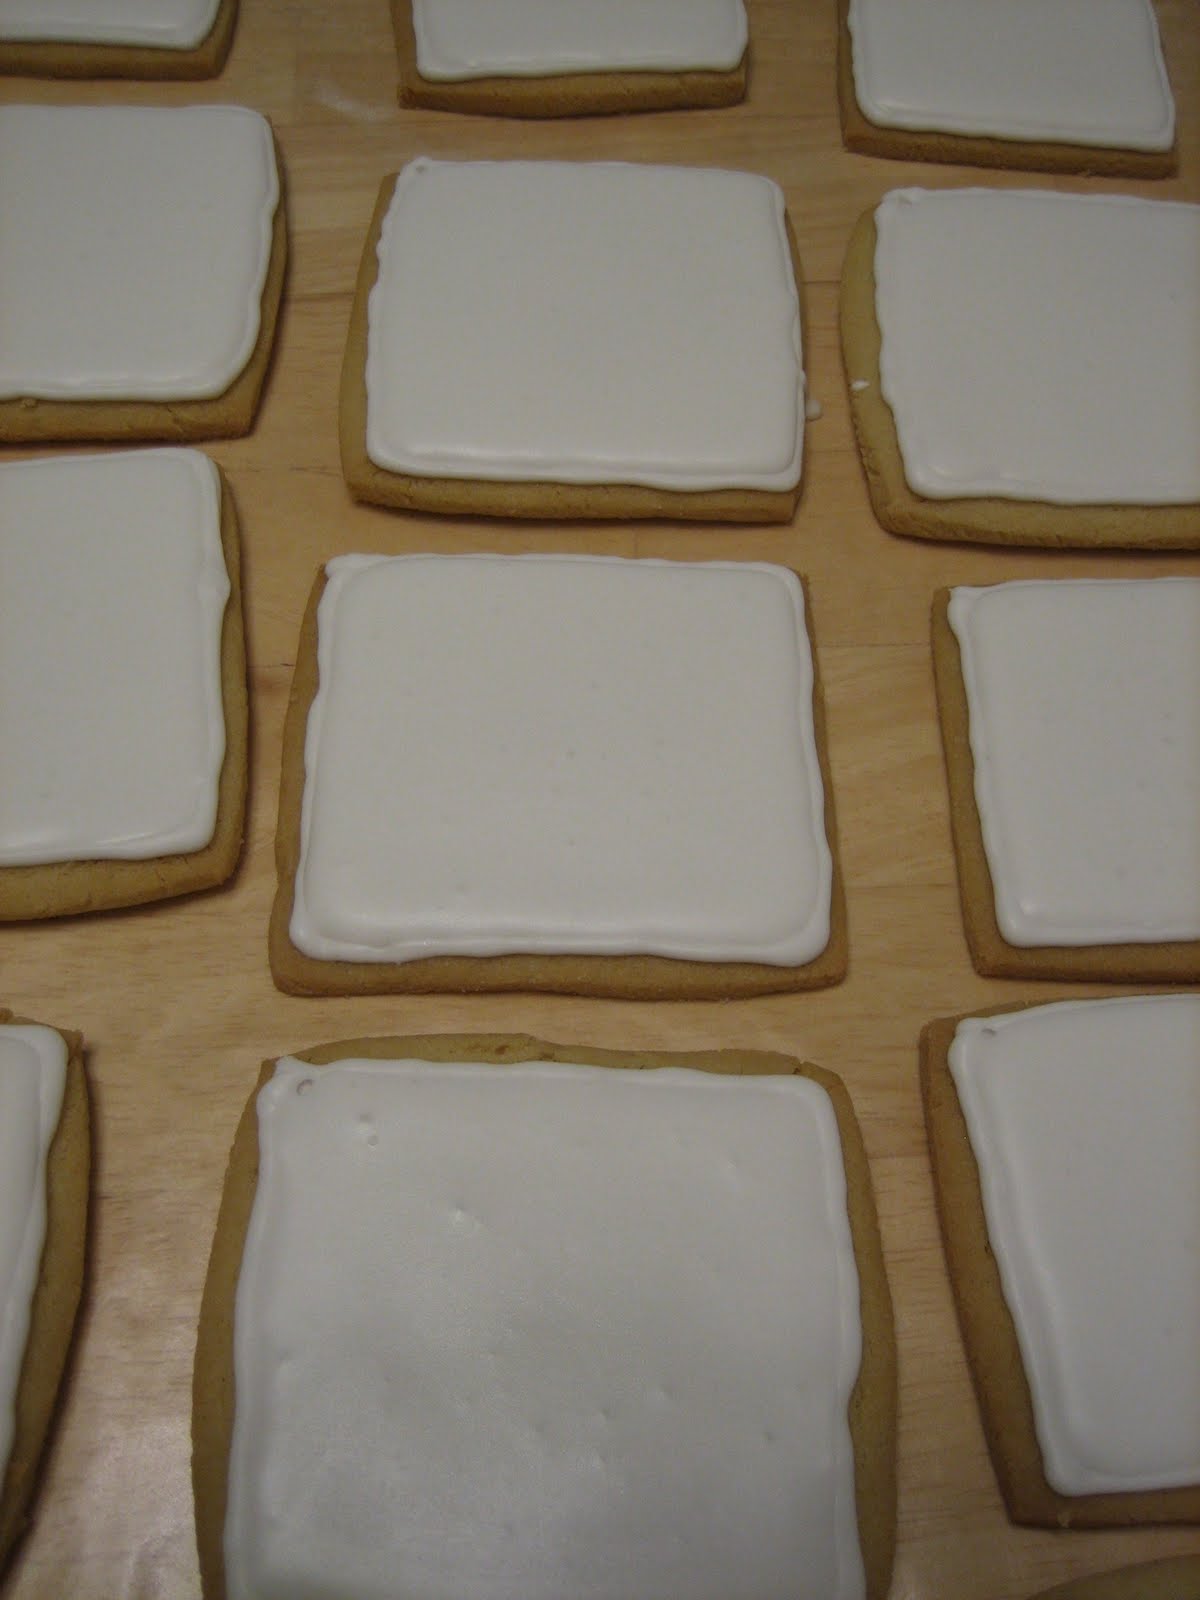
I used stiff royal icing to outline a border around every cookie. Then I thinned the icing out and completely filled in the outlines. I let that set-up overnight.

I also colored some more royal icing to make puddle dots. Basically, just squeeze out the royal icing onto wax paper until you get the size you want. Then just let them dry overnight. I tried to make red…but it was taking too long, so I gave up and made some purple dots also.

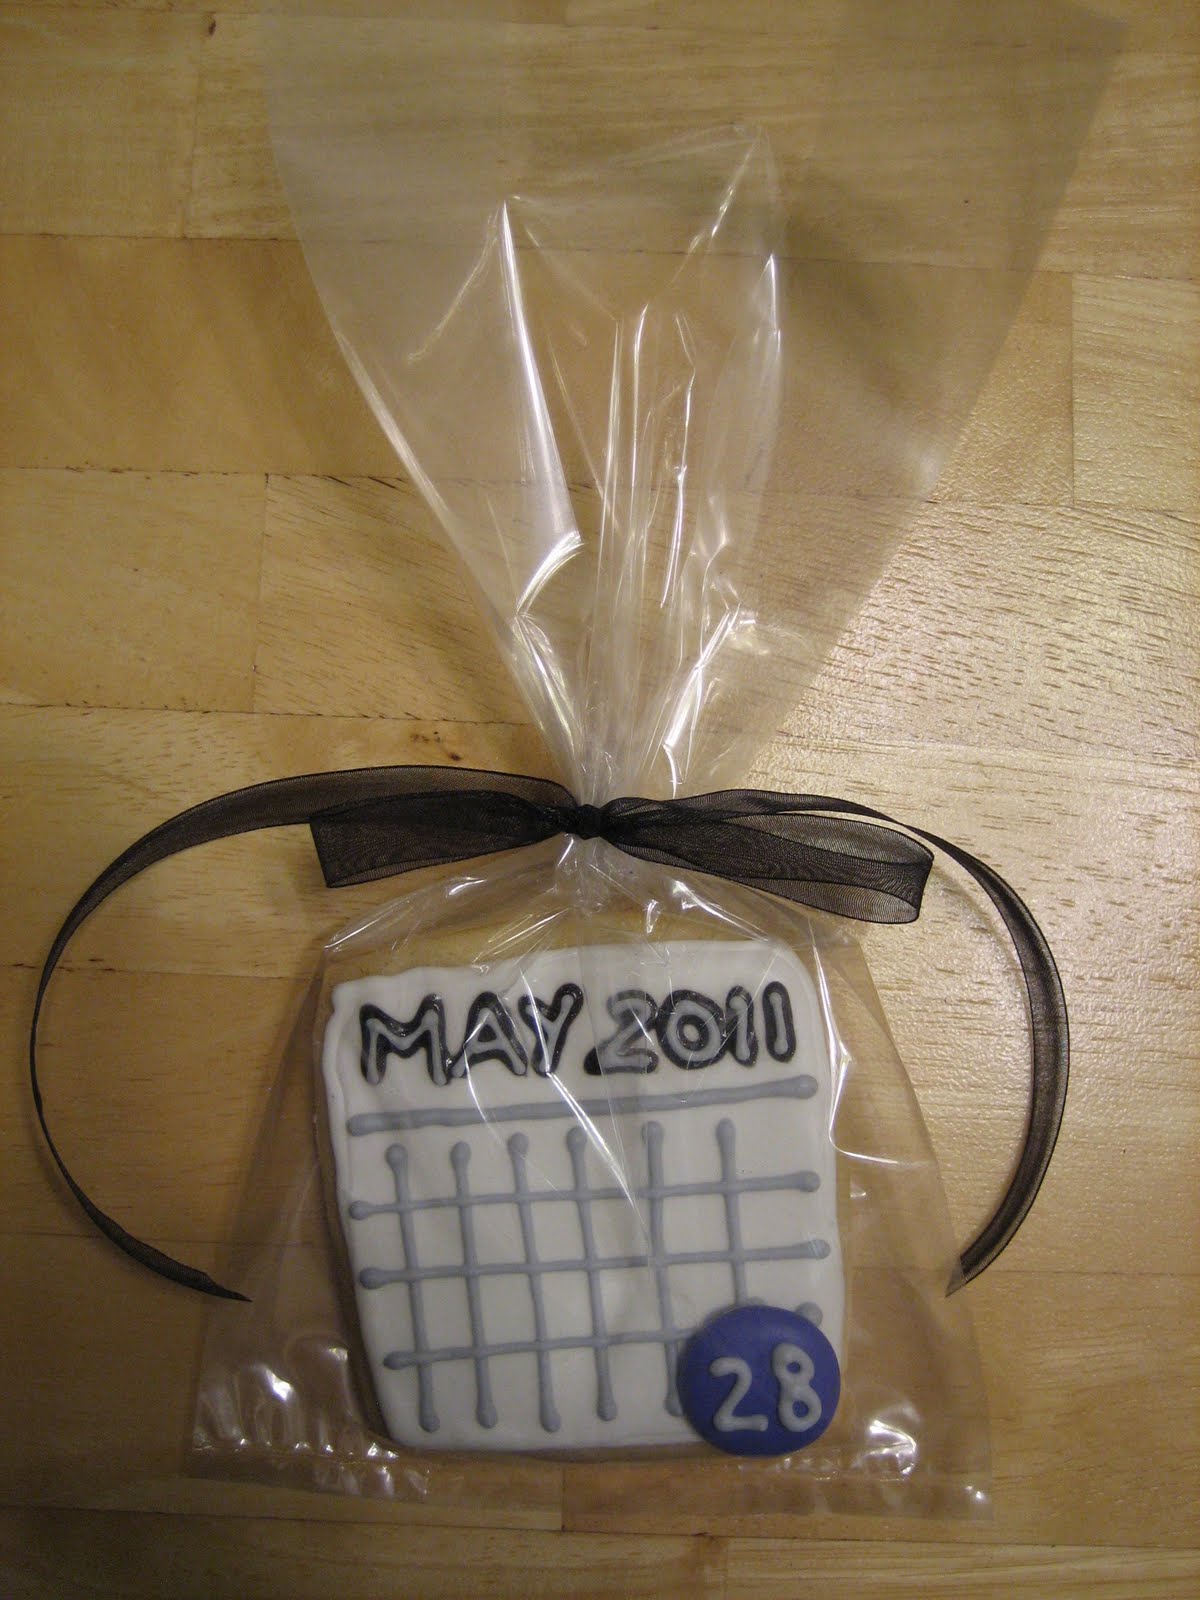
The next day, I used this sparkly gel in black for the month and year…however, I didn’t take into account the consistency of gel and so it didn’t exactly hold its shape, plus I was worried that it wouldn’t set-up so I went over it with gray royal icing…the same icing I used to make the calendar lines and the numbers on the dried puddle dots.

Once the writing on the cookies had set a little (a couple hours or so) I used extra icing to attach the puddle dots.

I think they turned out great! I was so excited about them.

Then I packaged them up and shipped them off.

Initial responses thus far have been overwhelmingly positive...and so far everyone that we have asked to be in or help with the wedding has said yes!

First wedding project = success!